
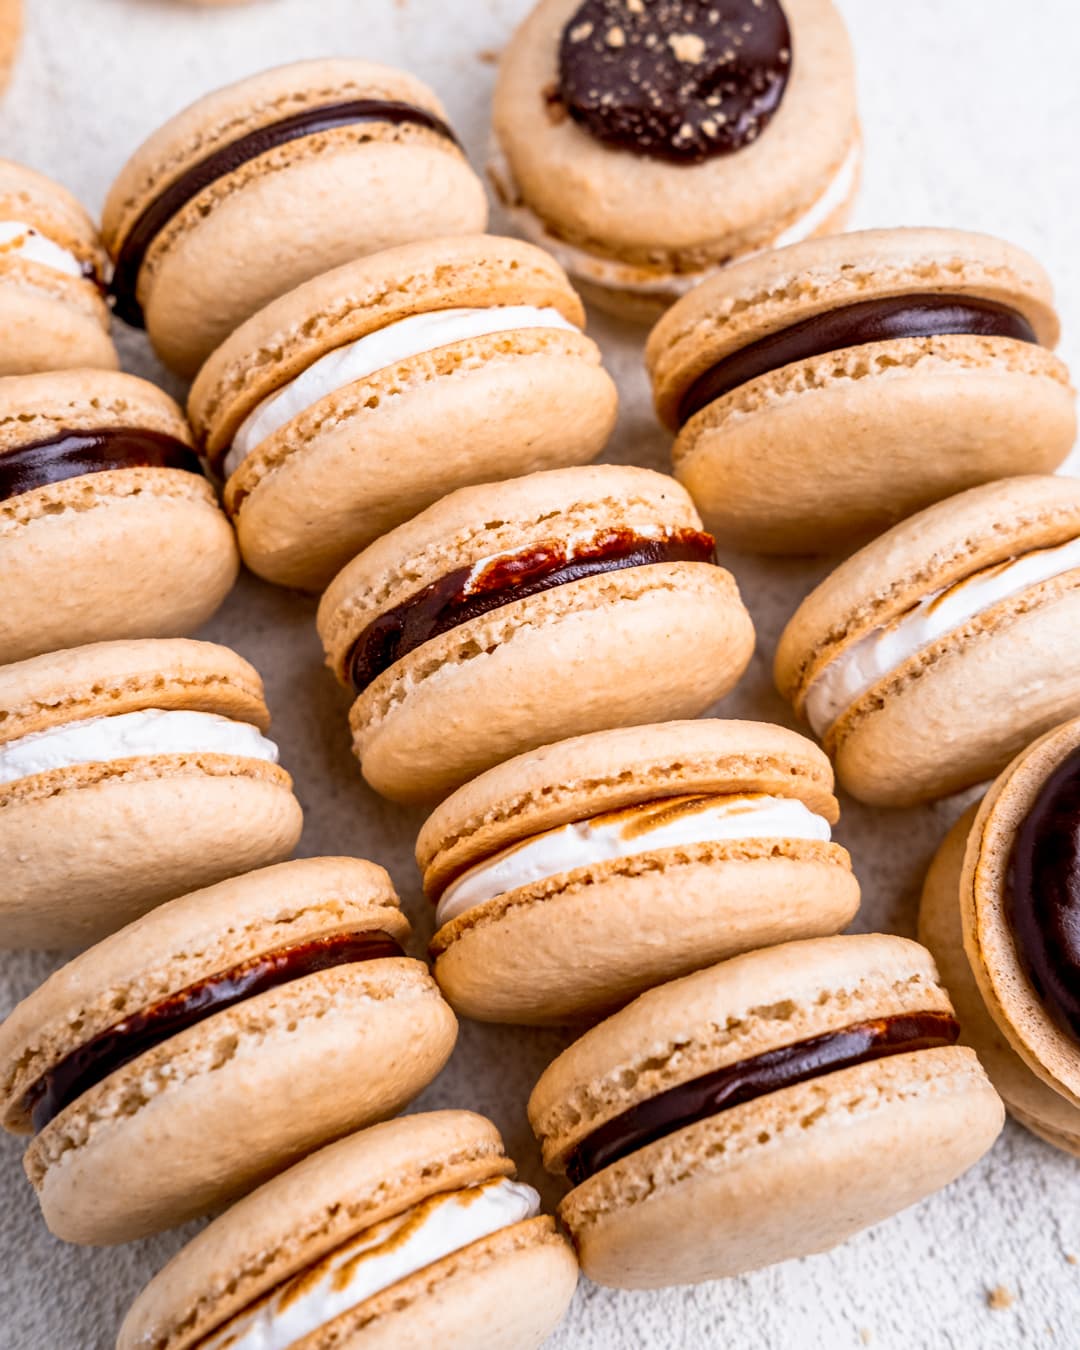
Let's be real, s'mores aren't a very elegant treat. They're usually made by roasting marshmallows on a dirty stick out in the woods while you're sitting around in clothes that smell of campfire smoke. But that's also such a huge reason why I love them so much! Hanging out with friends while we made s'mores around a bonfire was a normal summer night growing up in Wisconsin. However, it's nice to get dressed up sometimes (especially after a year and a half of quarantining)! Presenting S'mores Macarons - a fancy s'more that's graham cracker shells filled with chocolate ganache and toasted marshmallow cream!
Save This Recipe! 💌
Macarons can be so difficult, but I've recently started making them using the Swiss method instead of the French method and my success rate has increased exponentially! (Although my new oven could also be playing a role in this.) The difference in the methods is that the Swiss method heats the egg whites & sugar while the French method does not. It only adds a few extra minutes to the process but makes such a huge difference!
Looking for s'more S'mores recipes? Check out my S'mores Donuts recipe!
Jump to:


The Swiss Method's Extra Step
I heat the egg whites & sugar while constantly whisking in my stand mixer bowl on top of a pot of simmering water until it reaches around 100 degrees Fahrenheit (I check this using a thermometer). I'm not positive why this step yields such better results, but I'm guessing the heat helps the sugar melt into the egg whites & better combine them. Some people recommend aging the egg whites for a few hours to try to dry them out before using them for meringue, so maybe the heat helps dehydrate them a bit as well. Whatever the reason, I'm glad it works!
Once you can start to see more of a transparent syrup beneath bubbles in the mixture & it's around 100 degrees F, move it over to the stand mixer fitted with a whisk attachment. Start off at a low speed to give the meringue some time to cool down. Increase the speed by 2 notches every 3-5 minutes. Once the meringue starts to get white & thick (around speed 8), add the vanilla extract and kick it up to full speed. I've found that reaching soft peaks is optimal for this macaron method. (Soft peaks are when the meringue holds together but is still a bit droopy.)


Sifting & Macaronage
Generally, almond flour & powdered sugar are folded into the meringue. However, since these are s'mores macarons, I've added crushed graham crackers in the mix as well. This might take some extra sifting or chopping since graham cracker crumbs can be much more coarse than flour & confectioners' sugar. You can use 23 grams of graham cracker crumbs or make your own. I weigh graham crackers (about 1 ½ sheets) into my food chopper and chop them up a bit before adding in the almond flour and powdered sugar. Then, I'll go between chopping and sifting until it's a nice & fine mixture. If there are a lot of coarse pieces left, they're going to stick out in the macaron shells and look lumpy.
While folding the dry mixture into the meringue, go slow! You don't want to add too much air to the batter during the macaronage process. The more air that gets in, the more bubbles there will be in the shells, preventing the macarons to rise properly. This is also why you should bang your pan on the counter & pop any air pockets after piping the shells! When the batter is so smooth that you can lift a spatula full of it and have it trickle down & create a figure 8 without breaking, stop folding! Add it to your pastry bag with a medium round tip and pipe your shells onto your baking sheet! Silicon mats are great for helping macarons rise properly & have smooth bottoms, but if you don't have one, parchment paper can work as well!


The Fillings
Finish off the signature s'mores flavors with chocolate ganache and marshmallow cream! I made my own marshmallow meringue because it holds its shape well when it's piped with a star tip. Add a little flame to it, and it has a cool design! The torching isn't necessary, I just love using my torch as much as possible! I assembled the s'mores macarons by piping a dime sized ball of chocolate ganache in the middle of a shell, and then swirling marshmallow cream around it (and vice versa). Then I carefully torched around the cream!

Tips & Storage
Macarons are very finicky so it's important to prevent as many errors as possible! Measuring with cups can be inaccurate and subjective, but using a scale to measure weight is very accurate!
Yes, absolutely! These will be just as delicious with marshmallow fluff instead of the meringue.
Yes! This allows the air bubbles to surface so that your macarons don't have pockets or crack. I put my earplugs in, drop my pan 5 times, smooth out the bubbles, and drop it a few more times.
Yes, let them sit on the counter until they're smooth and dry to the touch. It usually takes mine about 40-50 minutes but will vary depending on your kitchen's temperature & humidity.
Store them in an airtight container in the refrigerator for up to 1 week. I also recommend refrigerating them for 1 day before eating to allow the shells to fill up and flavors to combine.

Did you try this recipe?
Tag @brokenovenbaking on Instagram and rate & comment below!
📖 Recipe

S'mores Macarons
Equipment
- Sifter
- Mixing bowls
- Scale
- Measuring spoons
- Measuring cups
- Stand or hand mixer with whisk attachment
- Baking sheet
- Pastry bags & piping tips
- Silicon baking mat (recommended) or parchment paper
- Thermometer (recommended)
- Torch (optional)
Ingredients
Graham Cracker Shells
- 60 grams egg whites ~2 large eggs (room temperature)
- 60 grams granulated sugar
- 23 grams graham cracker crumbs ~1½ graham crackers
- 50 grams almond flour
- 53 grams powdered sugar
- ½ teaspoon vanilla extract
Chocolate Ganache
- ⅓ cup (60 g) semi-sweet chocolate chips good quality
- ¼ cup (59.15 ml) heavy whipping cream
Marshmallow Filling
- 30 grams egg whites ~1 large egg (room temperature)
- 3 tablespoons (36 g) granulated sugar
- ⅛ teaspoon cream of tartar
- ⅛ teaspoon vanilla extract
Instructions
Graham Cracker Shells
- Weigh the graham crackers into a food chopper and pulse until crumbly. Then, weigh and add the almond flour and powdered sugar into the food chopper and pulse for a few more seconds.
- Transfer the graham cracker mixture into a sifter over a bowl and sift out/discard any large chunks. Then, transfer back into the food chopper and pulse again for 5-10 seconds. Repeat sifting and chopping 1-2 more times until it's a fine mixture. Set aside.
- Weigh the egg whites & sugar into the bowl of a stand mixer (or large heat-resistant bowl). Place the bowl over a pot with ~½ inch of simmering water and whisk constantly until the mixture reaches around 100°F (it should look like a transparent syrup underneath white bubbles).
- Transfer the bowl to the stand mixer fitted with a whisk attachment (or remove from heat and use a hand mixer). Whisk on low speed for a minute, and then increase the speed 1-2 notches every 3-5 minutes. Once the meringue starts to get white and somewhat thick, add the vanilla extract. Continue increasing the mixer to full speed and whisking until it reaches soft peaks. (Soft peaks are thick but still a bit droopy when lifted).
- Gently fold ½ of the graham cracker mixture into the meringue, then add the remaining ½. Continue folding until the batter is smooth and creates a figure 8 without breaking when it trickles down from the spatula.
- Pour the batter into a pastry bag with a medium round piping tip. Pipe circles on a silicon mat (or parchment paper) on a baking sheet by placing the piping tip at a 90° angle from the sheet, about ¼ inch away, and squeezing until the circle is 1-1½ inches in diameter.
- I recommend wearing earplugs for this-Carefully lift the pan of shells ~6 inches and drop it onto your counter 5 times. Smooth out any air bubbles with a toothpick, and then drop it a few more times. Let the shells rest at room temperature until they're smooth & dry to touch (~40-50 minutes).
- Preheat oven to 315°F while the macaron shells are resting.*
- Bake macarons for 12-14 minutes. The shells should be just slightly noticeably tan around the edges and firm on top. Let them cool on the baking sheet completely.
Chocolate Ganache
- Place the chocolate chips in a small glass or metal bowl.
- Heat the heavy whipping cream in the microwave until it starts to simmer. Then, pour it over the chocolate chips so that they're completed covered. Place a plate on top of the bowl to trap the heat inside for 5 minutes.
- Remove the plate and stir the mixture in a circular motion with a rubber spatula, starting from the center of the bowl and working your way to the edge. It will take about a minute or so, but the mixture will turn into a smooth chocolate ganache.
- Let the ganache sit out or in the refrigerator (stir occasionally) until it's thick. Then, transfer to a piping bag. (No piping tip needed, just cut the tip so that the opening is about ½ inch in diameter.)
Marshmallow Filling
- Weigh the egg whites, sugar and cream of tartar into a medium-sized heat resistant bowl. Place the bowl over a pot with ~½ inch of simmering water and whisk constantly until the mixture reaches 140°F. Remove from heat and whisk with a hand mixer, just like the shell's meringue. When the meringue is thick and white, add the vanilla. Continue whisking at high speed until it reaches stiff peaks. (Stiff peaks are thick and sturdy).
- Transfer the marshmallow fluff to a piping bag with a piping tip of your choice (I like using a star tip).
Assembling the Macarons
- Pipe a dime sized ball of chocolate ganache into the center of a macaron shell. Swirl marshmallow around the chocolate. (Or, pipe a circle of chocolate ganache around the edges of the shell and then pipe a dollop of marshmallow on the inside.)Optional: carefully torch around the marshmallow cream.Place an empty shell on top of the fillings. Repeat for all macarons.
Save This Recipe! 💌
Notes
More Delicious Recipes:
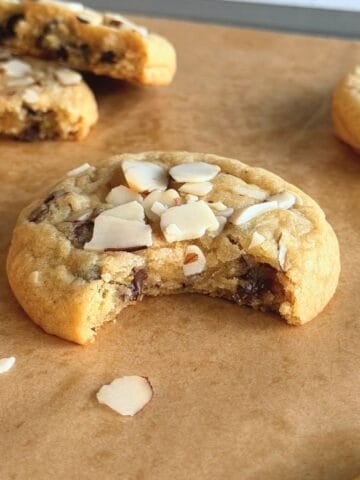
- Orange Almond Chocolate Chip Cookies
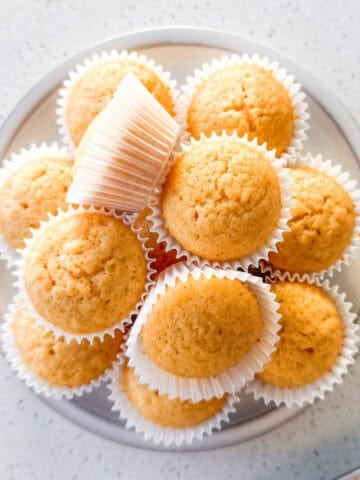
- Mini Honey Muffins
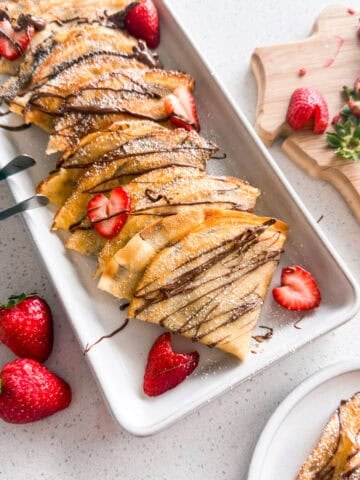
- Strawberry Nutella Crepes
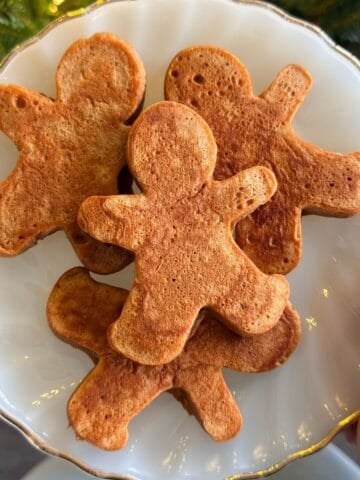
- Gingerbread Pancakes (Fun Holiday Breakfast!)
- Easy Spice Cake with Brown Butter Cream Cheese Frosting
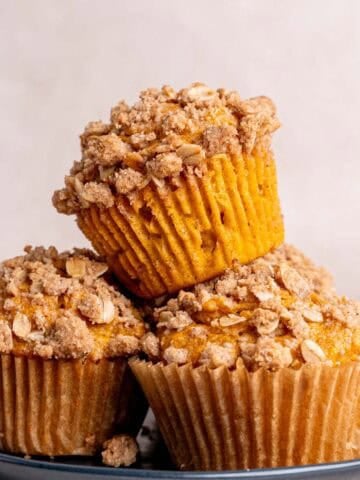
- Easy Pumpkin Oatmeal Muffins With The Best Streusel Topping!
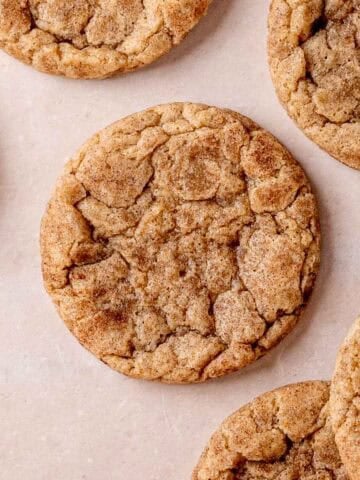
- Easy Sourdough Snickerdoodle Cookies
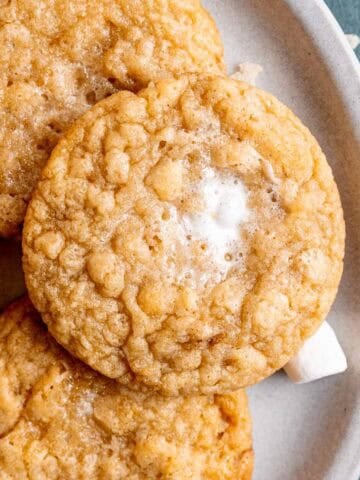
- Marshmallow Crispy Cookies (Costco Copycat)

This method of making macs was new for me so I was nervous to try it, but it was just as easy as the french method and every single mac came out smooth and perfect. Absolutely perfect. And this flavor is unbelievably perfect. I easily ate 5 at a time they are so so so good!
Yay I am so so happy this method worked for you and you enjoyed the flavors!! Thanks for trying this recipe, Liz! 🙂