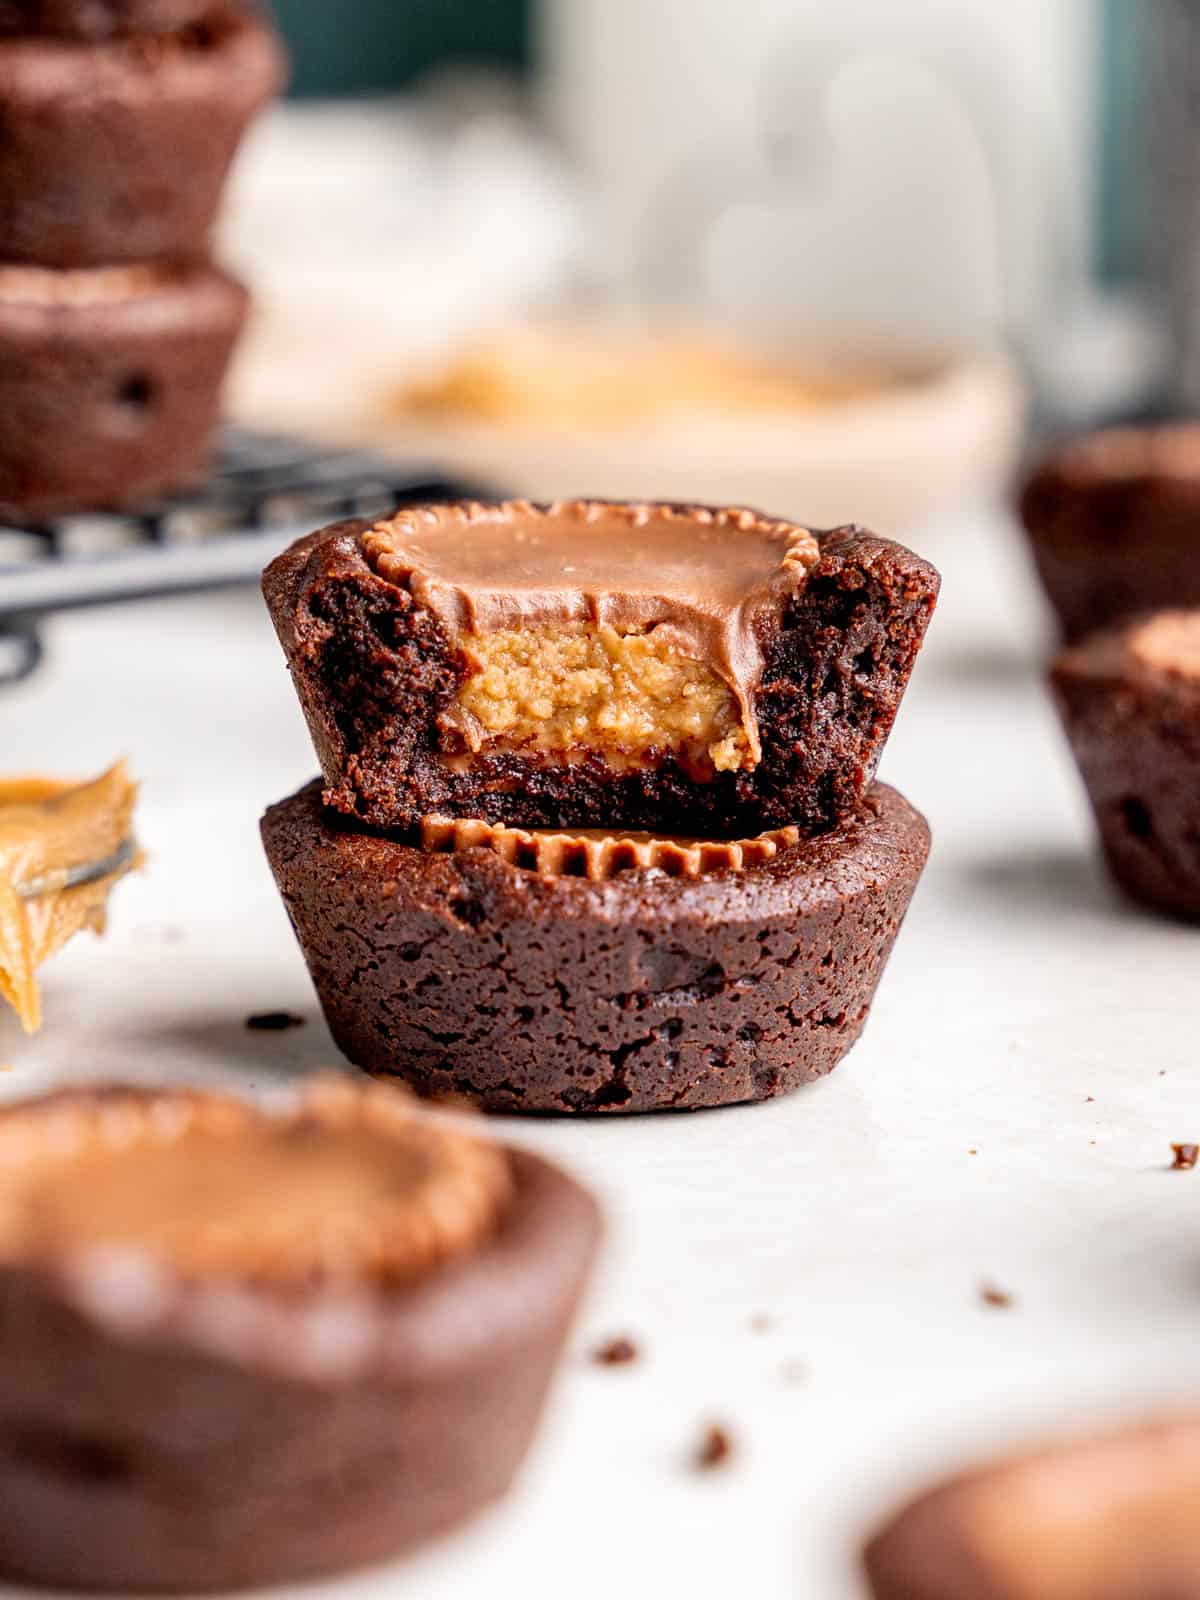
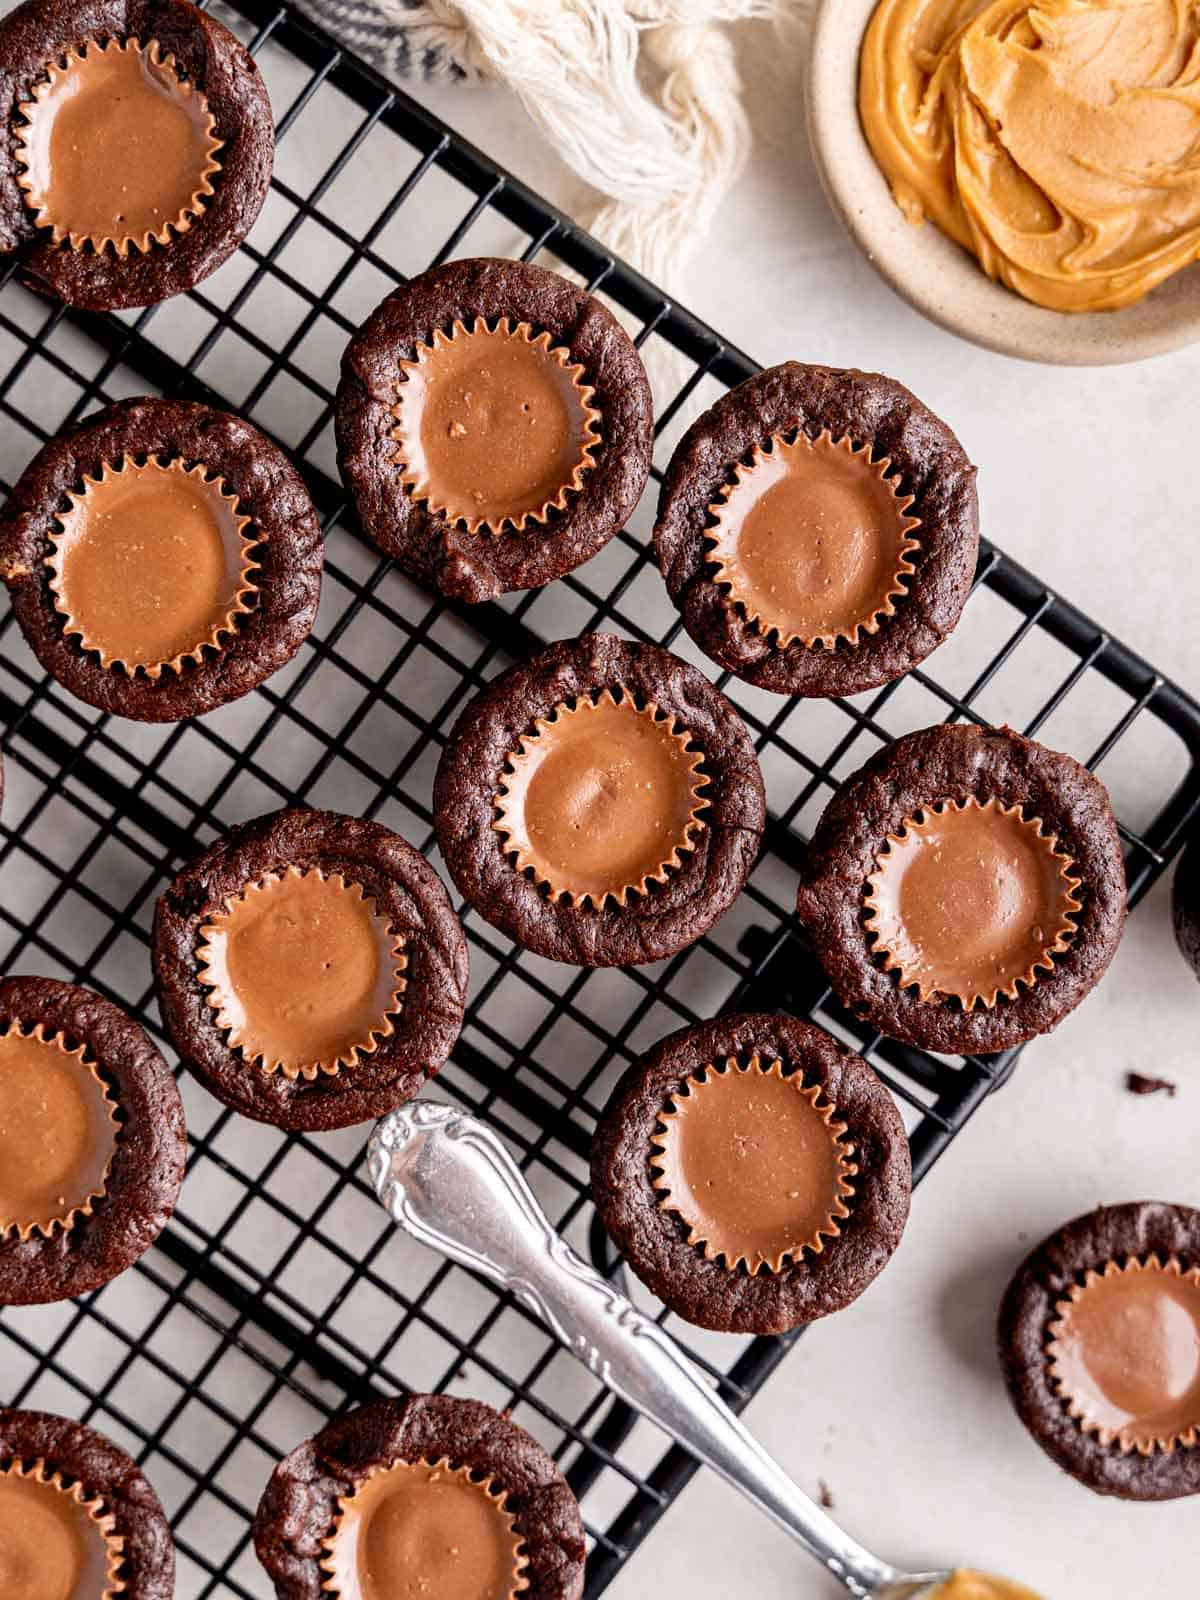
These decadent Mini Peanut Butter Cup Brownies are a Reese's lover's dream! They are individual rich and fudgy brownie bites topped with a peanut butter cup which ensures you get chocolate and peanut butter in every bite of these brownie cups with peanut butter.
Save This Recipe! 💌
Whenever I have a craving for Reese's peanut butter cups, I can never stop at just one, so I made these mini peanut butter brownies to get a double dose of chocolate while easily being able to eat multiple mini peanut butter brownies in one sitting.
These bite-size brownies are simple, full of chocolate, and easy to share with friends if you don't eat them all yourself first! For a regular brownie bar version of these, try my Chocolate Peanut Butter Brownies!
Jump to:
Why We Love This Recipe
- These peanut butter brownie bites come together in 4 easy steps, so you can have homemade brownies in about 30 minutes. If you're looking for an even easier, quicker brownie, try this brownie in a mug recipe. You could even add a mini peanut butter cup inside!
- They're a fun twist on my popular brownie bites recipe!
- Since they are mini brownie bites, you have a great excuse to eat more than one!
- You'll need fewer than 10 ingredients to make this easy recipe.
- It's simple to turn them into other versions using different chocolate candy for an easy variation on these brownies with Reese's peanut butter cups.
Ingredients
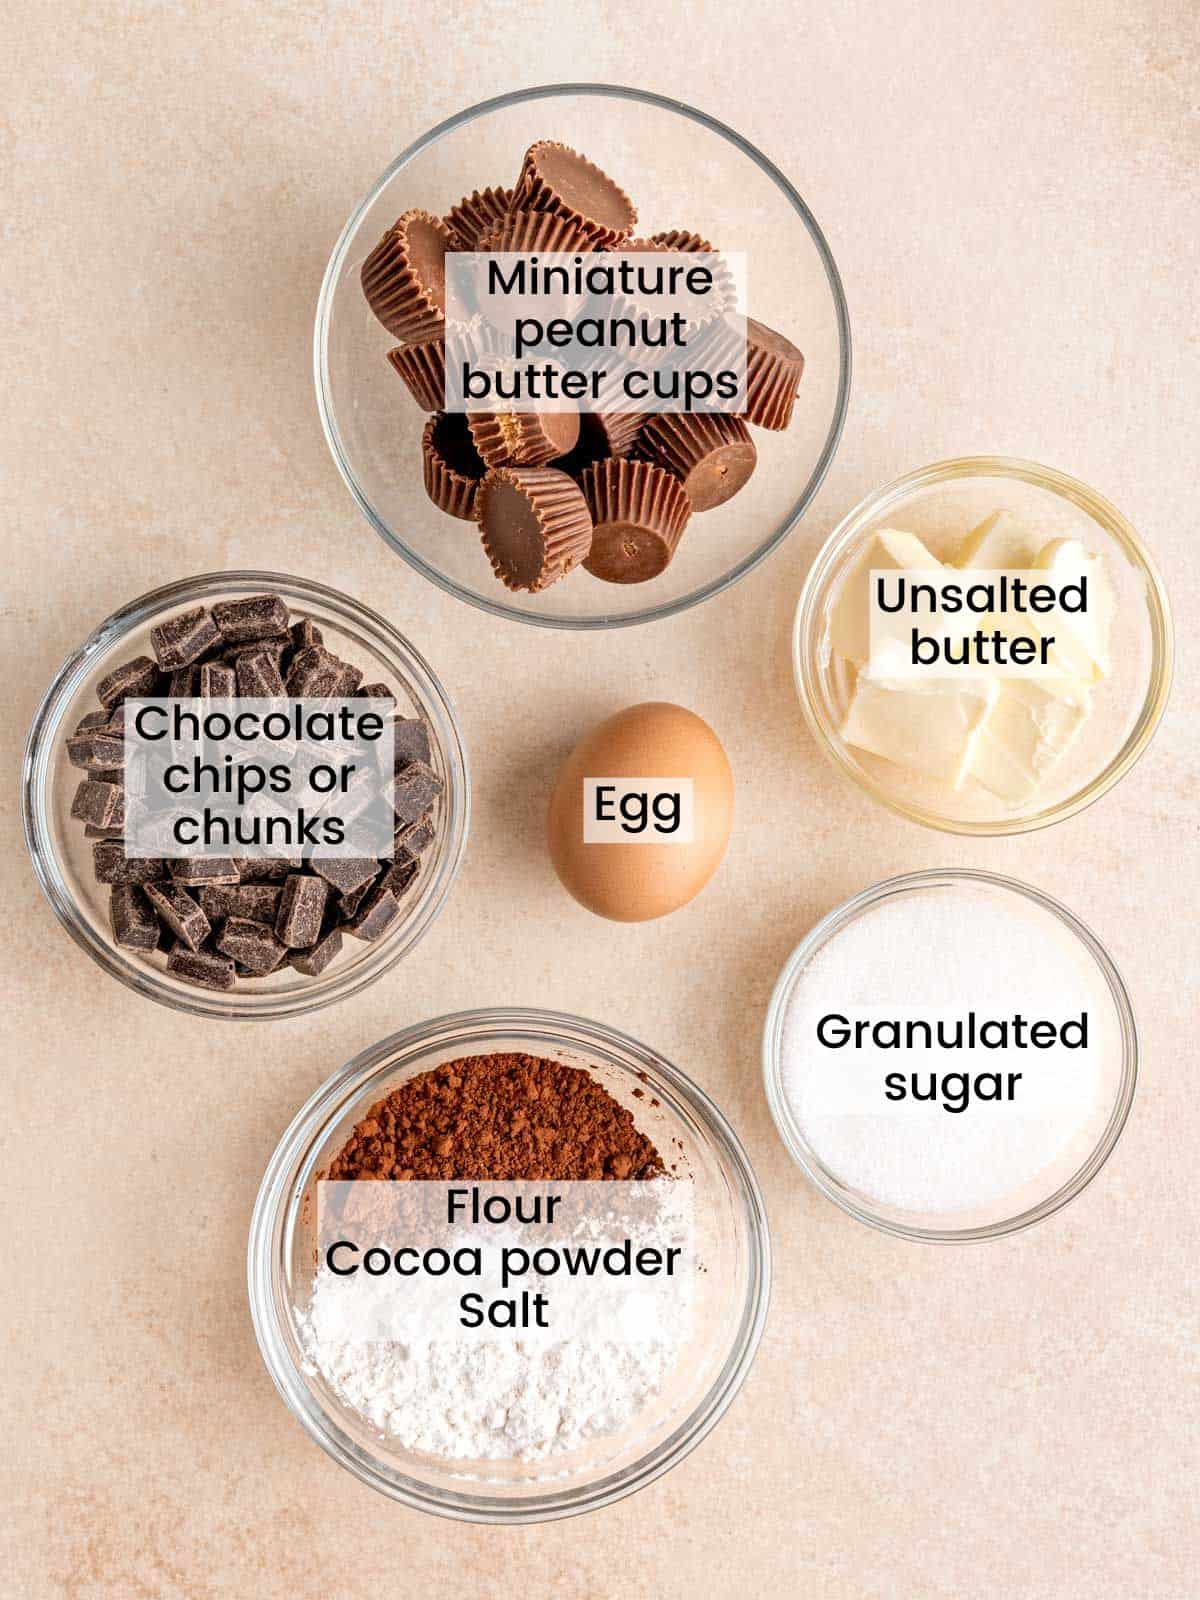
- Mini peanut butter cups - these candies are what set these brownies apart! You can use Reese's or your favorite brand of peanut butter cups.
- Unsweetened cocoa powder - you can use either natural cocoa powder (most common in the US, like Hershey's or Ghirardelli's) or Dutch process cocoa powder. They're interchangeable here because there is no leavening agent. Grab whatever you've got in the pantry and get baking!
See recipe card below for ingredient measurements.
Substitutions & Variations
- Take these brownies with peanut butter cups and turn them into something new by swapping in your favorite chocolate candy like Snickers, Milky Way, or Almond Joy.
- For the peanut butter lovers, add a teaspoon on top of each brownie bite and make a peanut butter swirl before adding the candy, making these double peanut butter filled brownies.
- If you don't have a mini muffin pan, you can use a regular cupcake pan with parchment liners. In this case, feel free to use regular-sized Reese's peanut butter cups!
This recipe has not been tested with other substitutions or variations. If you replace or add any ingredients, please let us know how it turned out in the comments below!
Equipment
To make these bite size Reese's peanut butter cup brownies, you will need a mini muffin pan greased with butter or cooking spray.
Step by Step Instructions
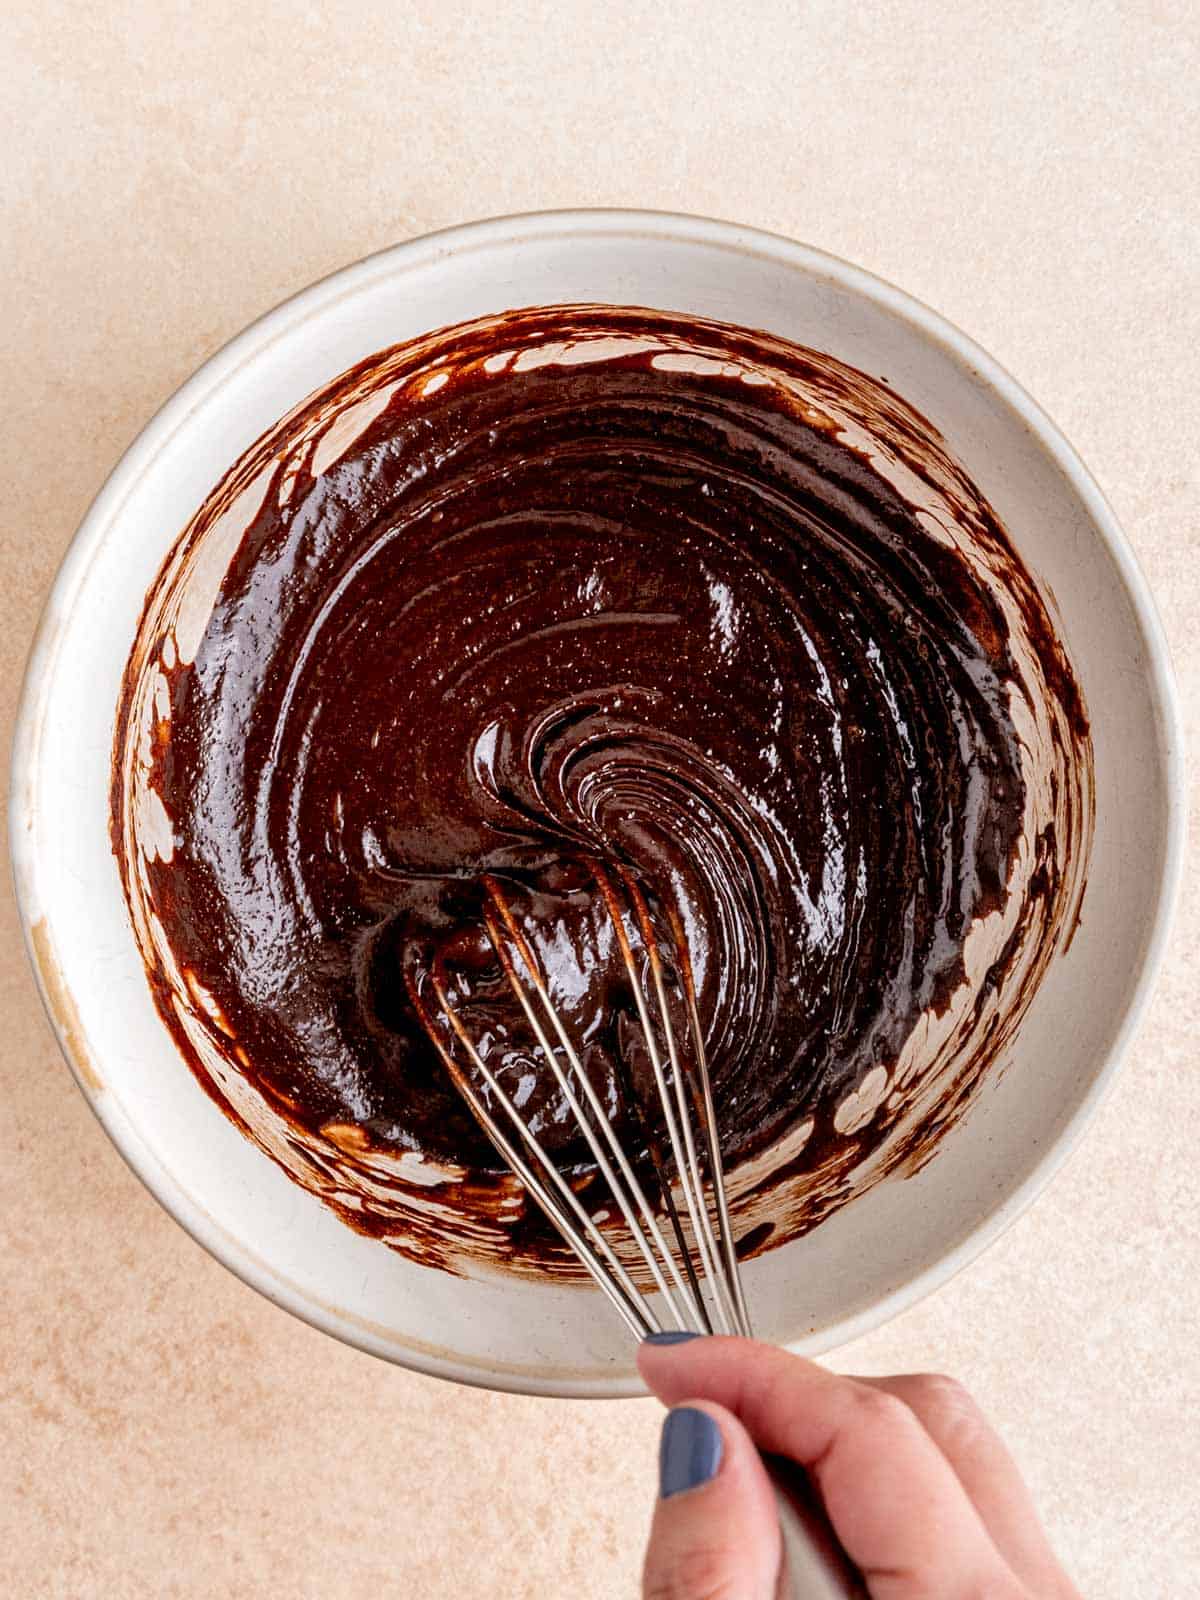
Step 1: In the microwave or in a heat safe medium bowl over a double boiler on low heat, melt the chocolate and butter together until smooth. Remove from the heat and stir in the sugar for a few minutes, followed by the egg.
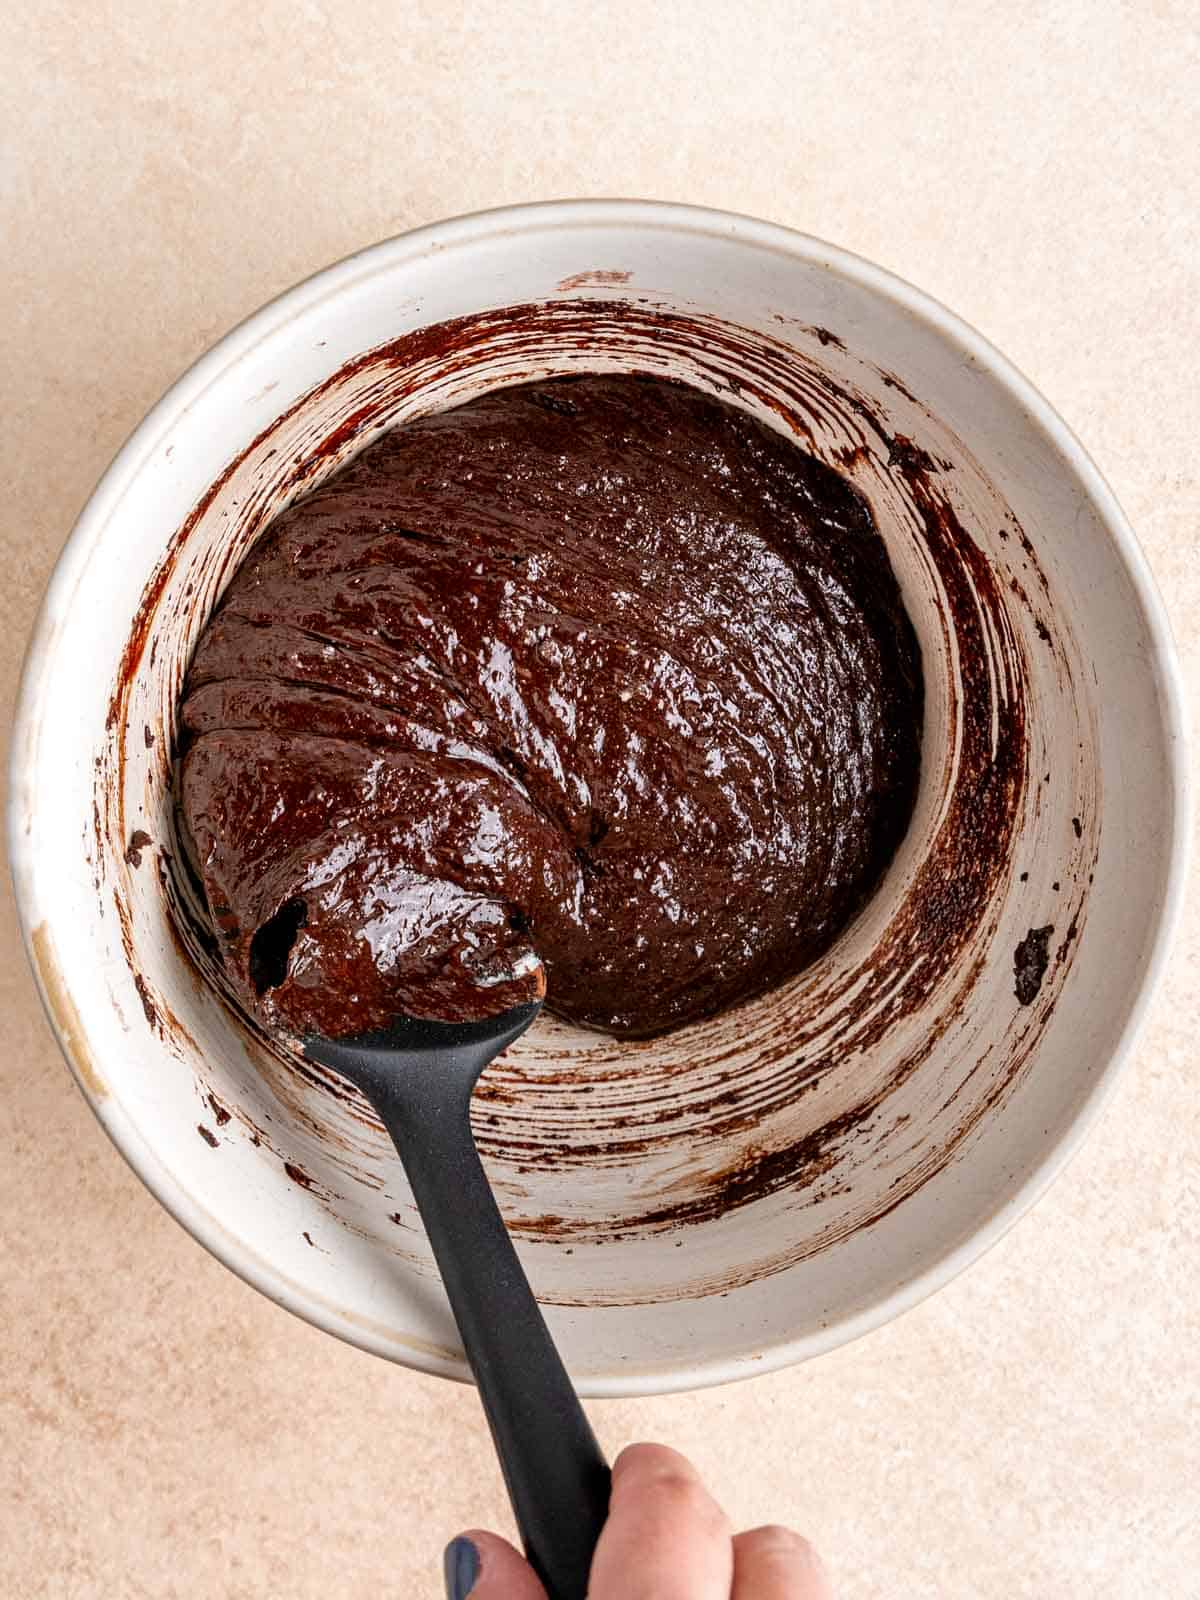
Step 2: Mix flour, cocoa powder, and salt together in a small bowl. Then fold the dry ingredients into the wet ingredients.
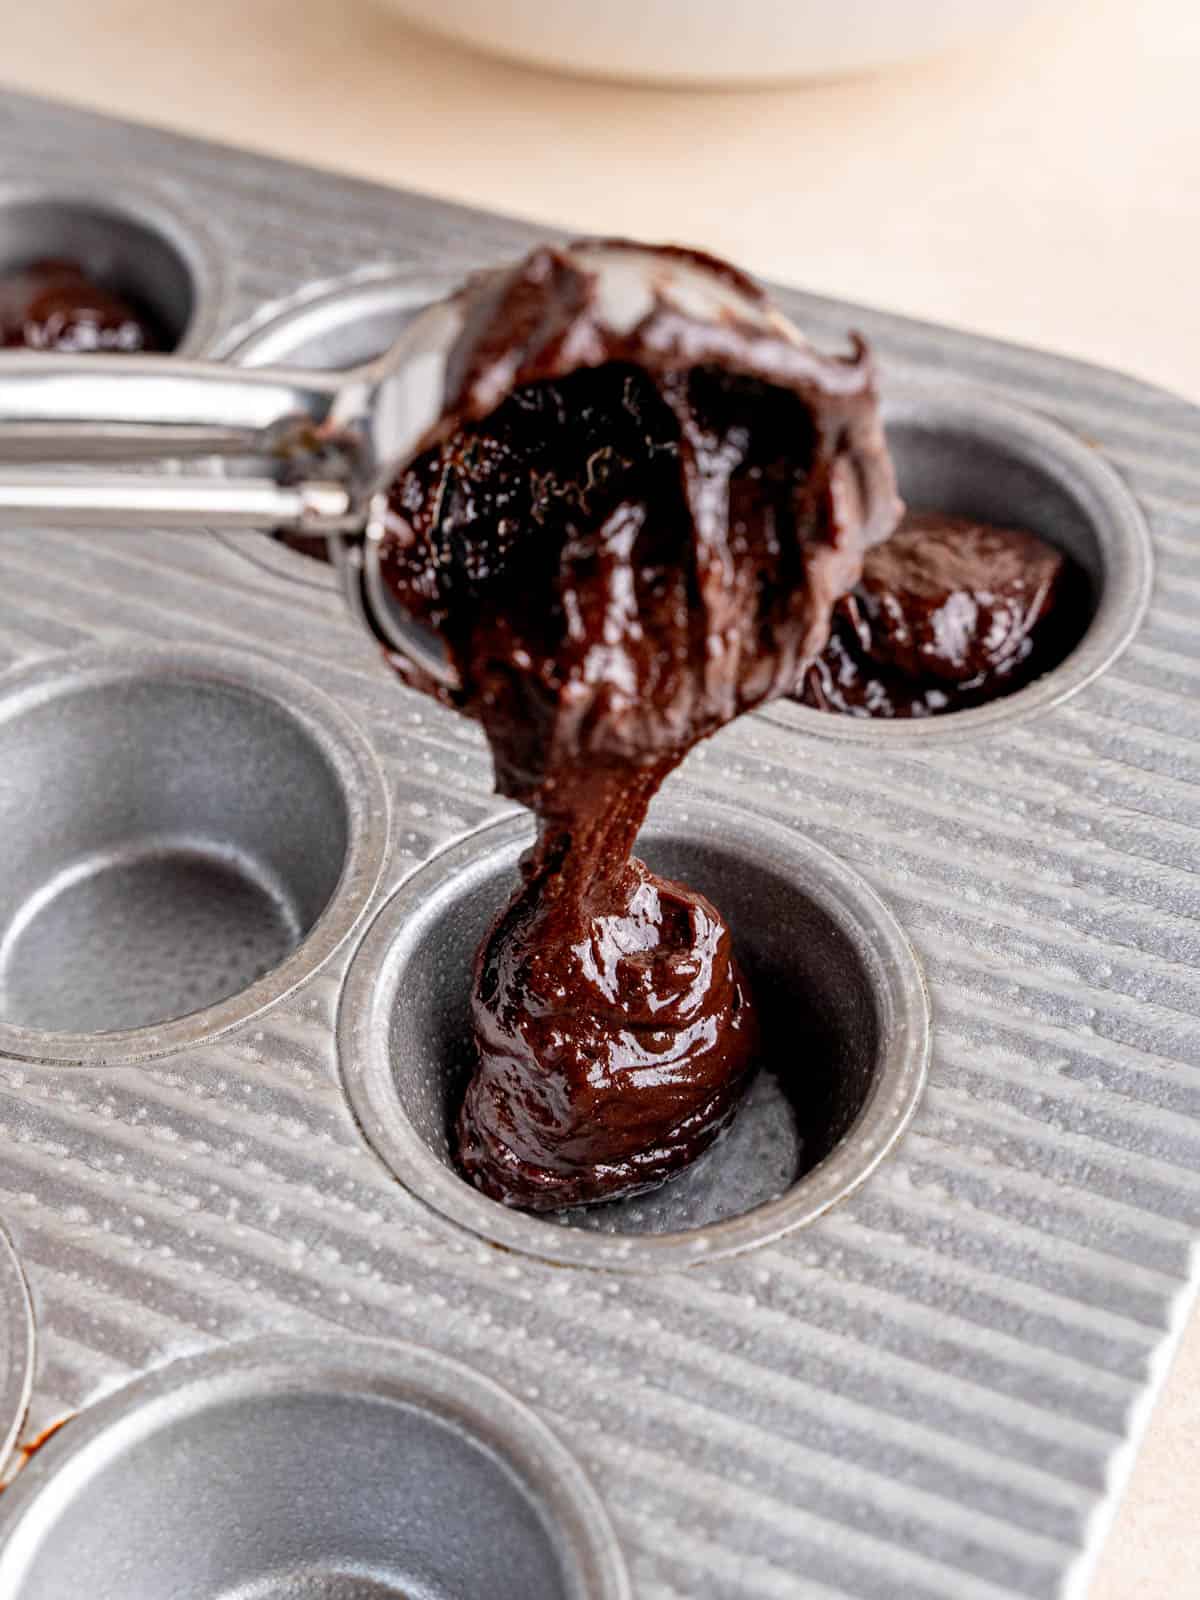
Step 3: Evenly distribute the brownie batter across the 24 greased muffin wells.
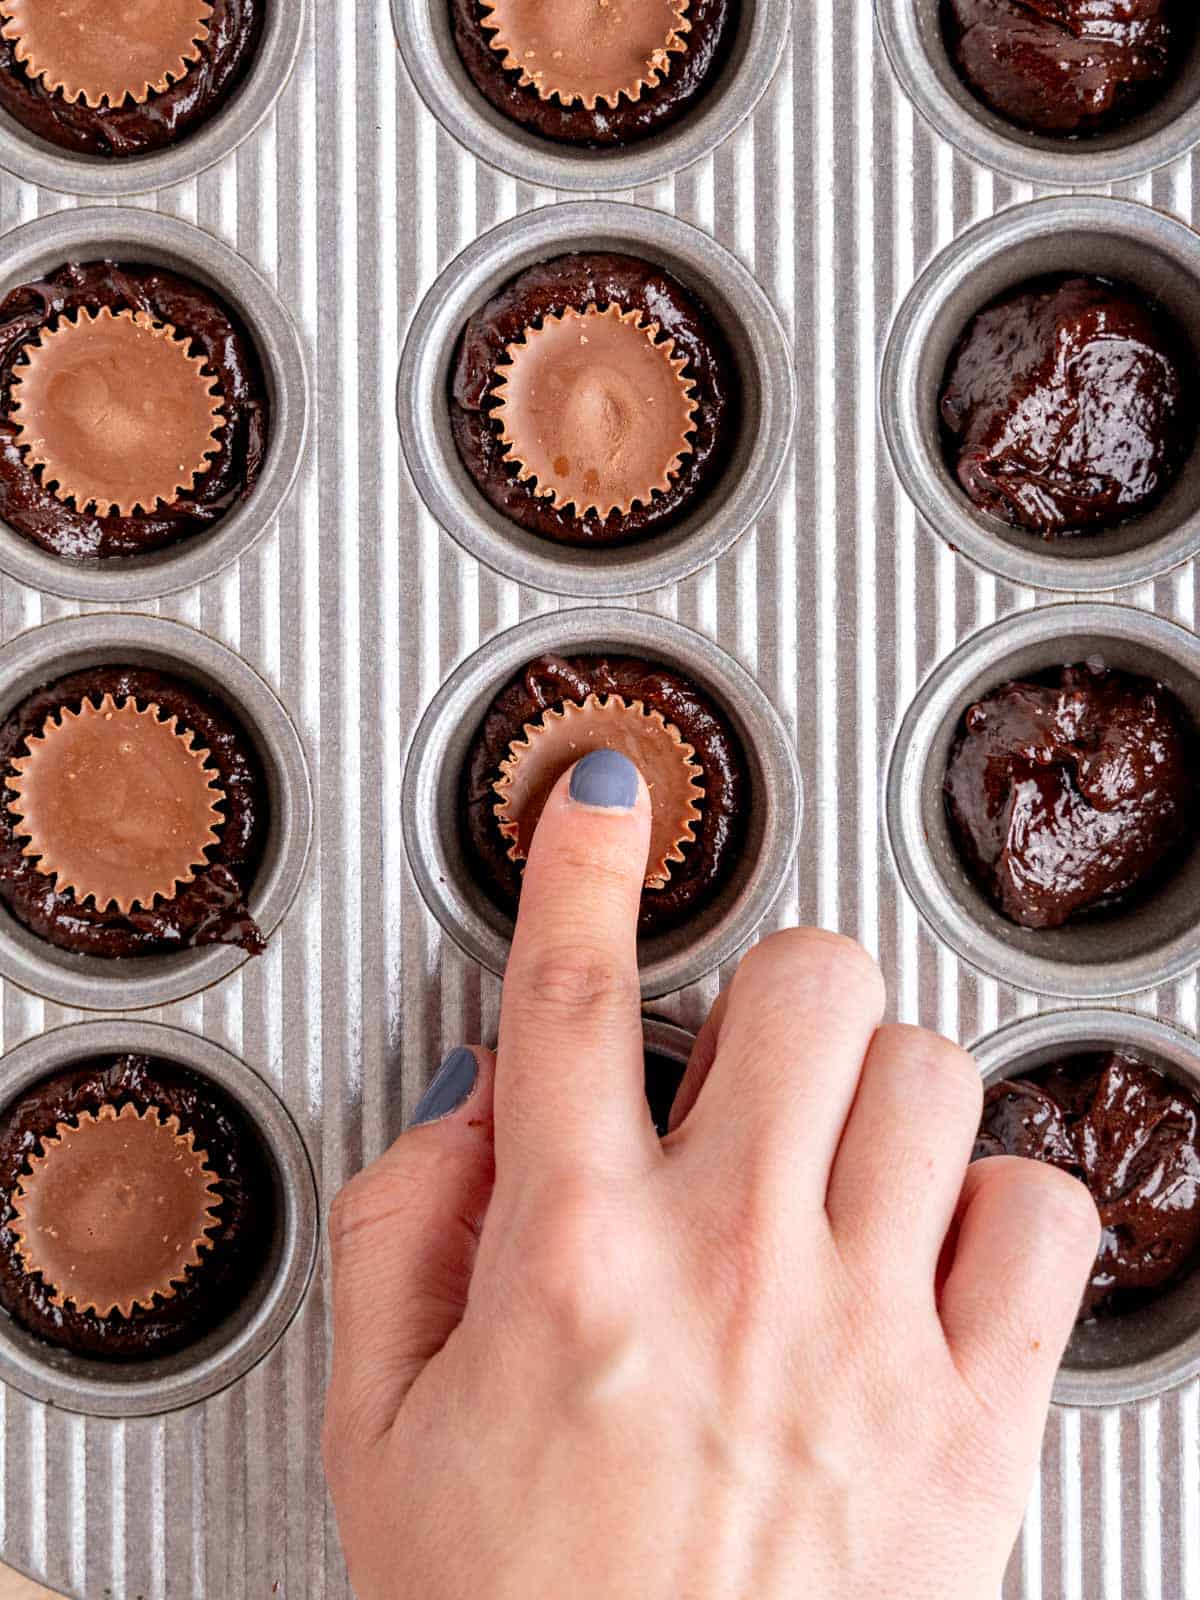
Step 4: Press miniature peanut butter cups into the brownies and bake at 325°F for 9-12 minutes until the edges are set. Cool in the mini muffin tin for 10-20 minutes, then transfer to a wire rack to cool completely.
Expert Tips
Tip #1 - If you melt your butter and chocolate in the microwave, do it in 30 second bursts while stirring in between each, until fully melted. It should only take about 1 minute.
Tip #2 - Stir the sugar into the chocolate butter mixture while it's still warm. This will help the sugar dissolve and cool down the mixture before adding the egg.
Tip #3 - You can use a spoon or a cookie scoop to cleanly transfer the batter to the mini cupcake tin.
Tip #4 - Be sure to remove the brownies after they've cooled, but are still warm. If they're too hot, they will fall apart easily, and if they've cooled for too long, they will stick in the pan.
Recipe FAQs
Yes absolutely! Follow steps 1 & 2 as written, then smooth the batter into a greased square baking pan, spacing the peanut butter cups evenly throughout. Bake and cool, then remove from the pan and cut into your desired brownie size.
Yes, these brownies freeze beautifully and are great straight out of the freezer or brought back to room temperature.
Storage
Room Temperature: Place in an airtight container and store at room temperature for up to 1 week.
Freezing Instructions: These brownie bites can be kept in a freezer-safe bag for up to 1 month.
More Recipes You'll Love
Did you try this recipe? I'd love to see it! Tag @brokenovenbaking on Instagram & Facebook and leave a ⭐️ review below!
📖 Recipe

Mini Peanut Butter Cup Brownies
Equipment
- Mixing bowl
- Measuring Cups or Scale
- Measuring spoons
- Whisk
- Spatula
- Small/medium cookie scoop
- 24-well Mini Muffin Pan
Ingredients
- ½ cup (1 stick) (113.5 g) unsalted butter
- 1 cup (170 g) semi-sweet chocolate chips or chocolate chunks
- ⅔ cup (133 g) granulated sugar
- 2 large (2 large) eggs room temperature
- ⅔ cup (83 g) all-purpose flour
- ¼ cup (25 g) cocoa powder
- ¼ teaspoon (¼ teaspoon) salt
- 24 miniature peanut butter cups
Instructions
- Preheat oven to 325°F and grease a mini muffin pan with non-stick spray or fill with mini parchment liners.
- In a microwave-safe bowl, heat and stir the chocolate chips and butter in 30 second intervals until smooth.
- Whisk the sugar into the warm chocolate mixture until it's cool and homogenous (about 2 minutes). Stir in the eggs.
- Gently fold the flour, cocoa powder and salt into the wet ingredients using a spatula just until all flour streaks have disappeared.
- Using a small cookie scoop or spoon, fill each well of the prepared pan ~½ full with brownie batter. Then, press a mini peanut butter cup into each one.
- Bake for 9-12 minutes, or until the edges look slightly firm and dry.
- Let the brownies cool in the pan for about 10 minutes and then remove them. If your pan is greased well and slightly warm, you should be able to give them a little twist and pull them right out. Otherwise, you might need to carefully scoop them out with a knife.


Comments
No Comments