

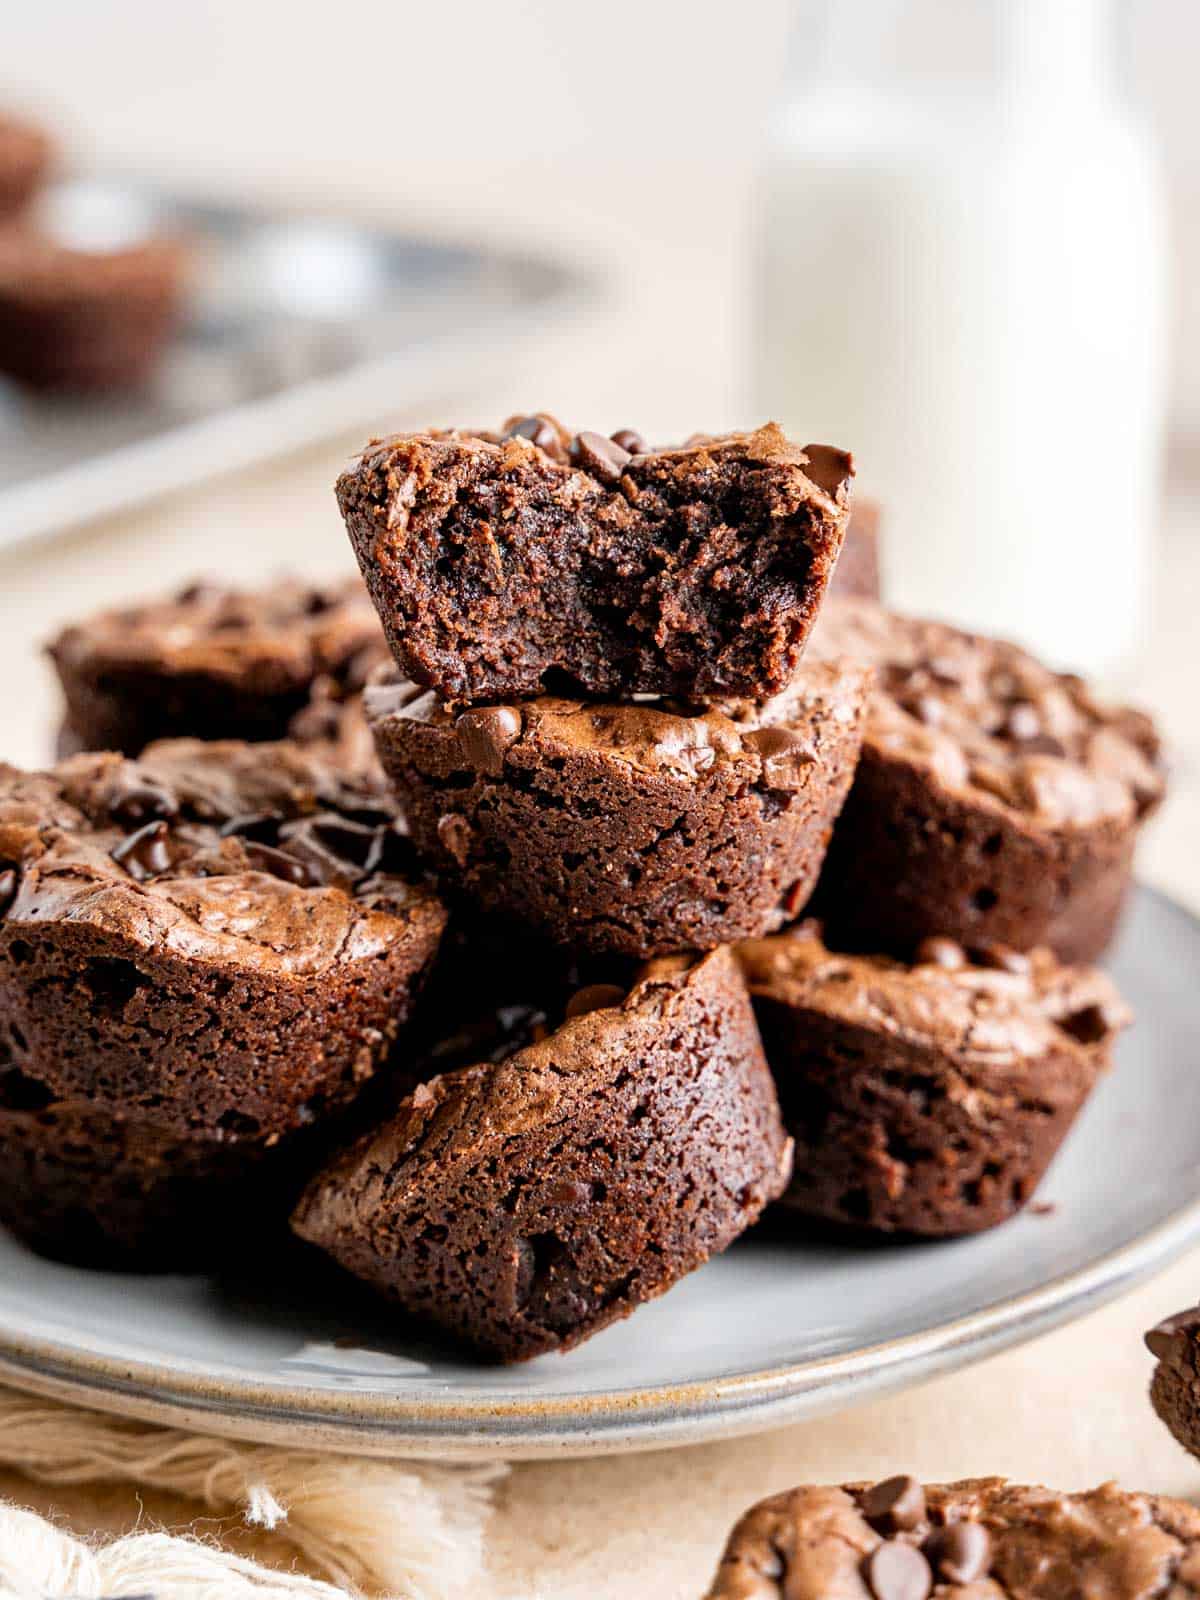
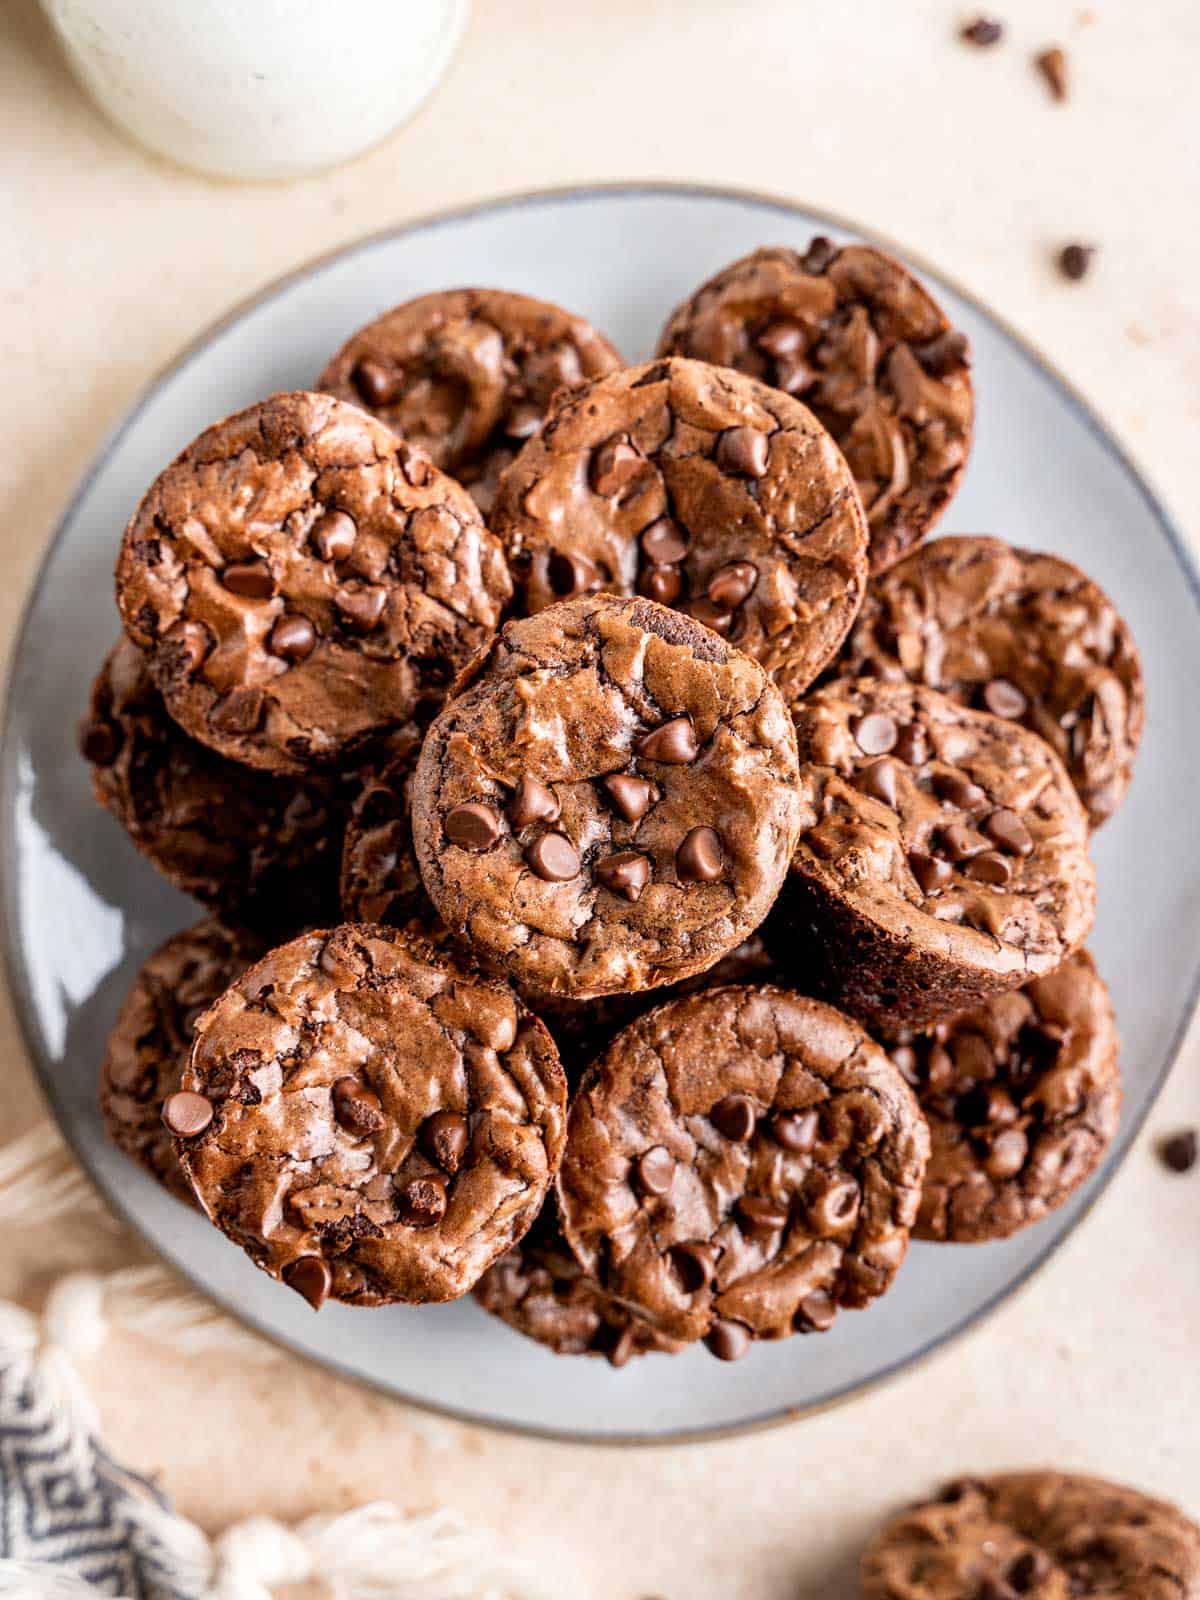
Do you remember Fudge Brownie Little Bites? They were one of my favorite treats as a kid! I recreated this nostalgic snack through this Mini Brownie Bites recipe, except these are so much better than store bought treats! These crinkle top brownies are fudgy, chewy, filled with mini chocolate chips and are gone in two bites (but that just means you can eat more, right??) With the melted chocolate, cocoa powder, and mini chocolate chips, they're sure to cure any chocolate cravings!
Save This Recipe! 💌
Bite size brownies are great because they're like pre-cut individual brownies and since they're so small, you can just pop them in your mouth! Sometimes I'll cut my small batch brownies into pieces about the size of these when I want tiny bites without the mini muffin pan.
These brownies are perfect for sharing or gifting in little goodie bags! And, if you're a peanut butter lover, there's a Mini Peanut Butter Cup Brownies version!
If you want to try a grown-up muffin version of these brownies, check out my Triple Chocolate Brownie Muffins! Or, if you have sourdough discard to use up, try my Fudgy Sourdough Discard Brownies!
Jump to:
Looking for more brownie recipes?
Ingredients
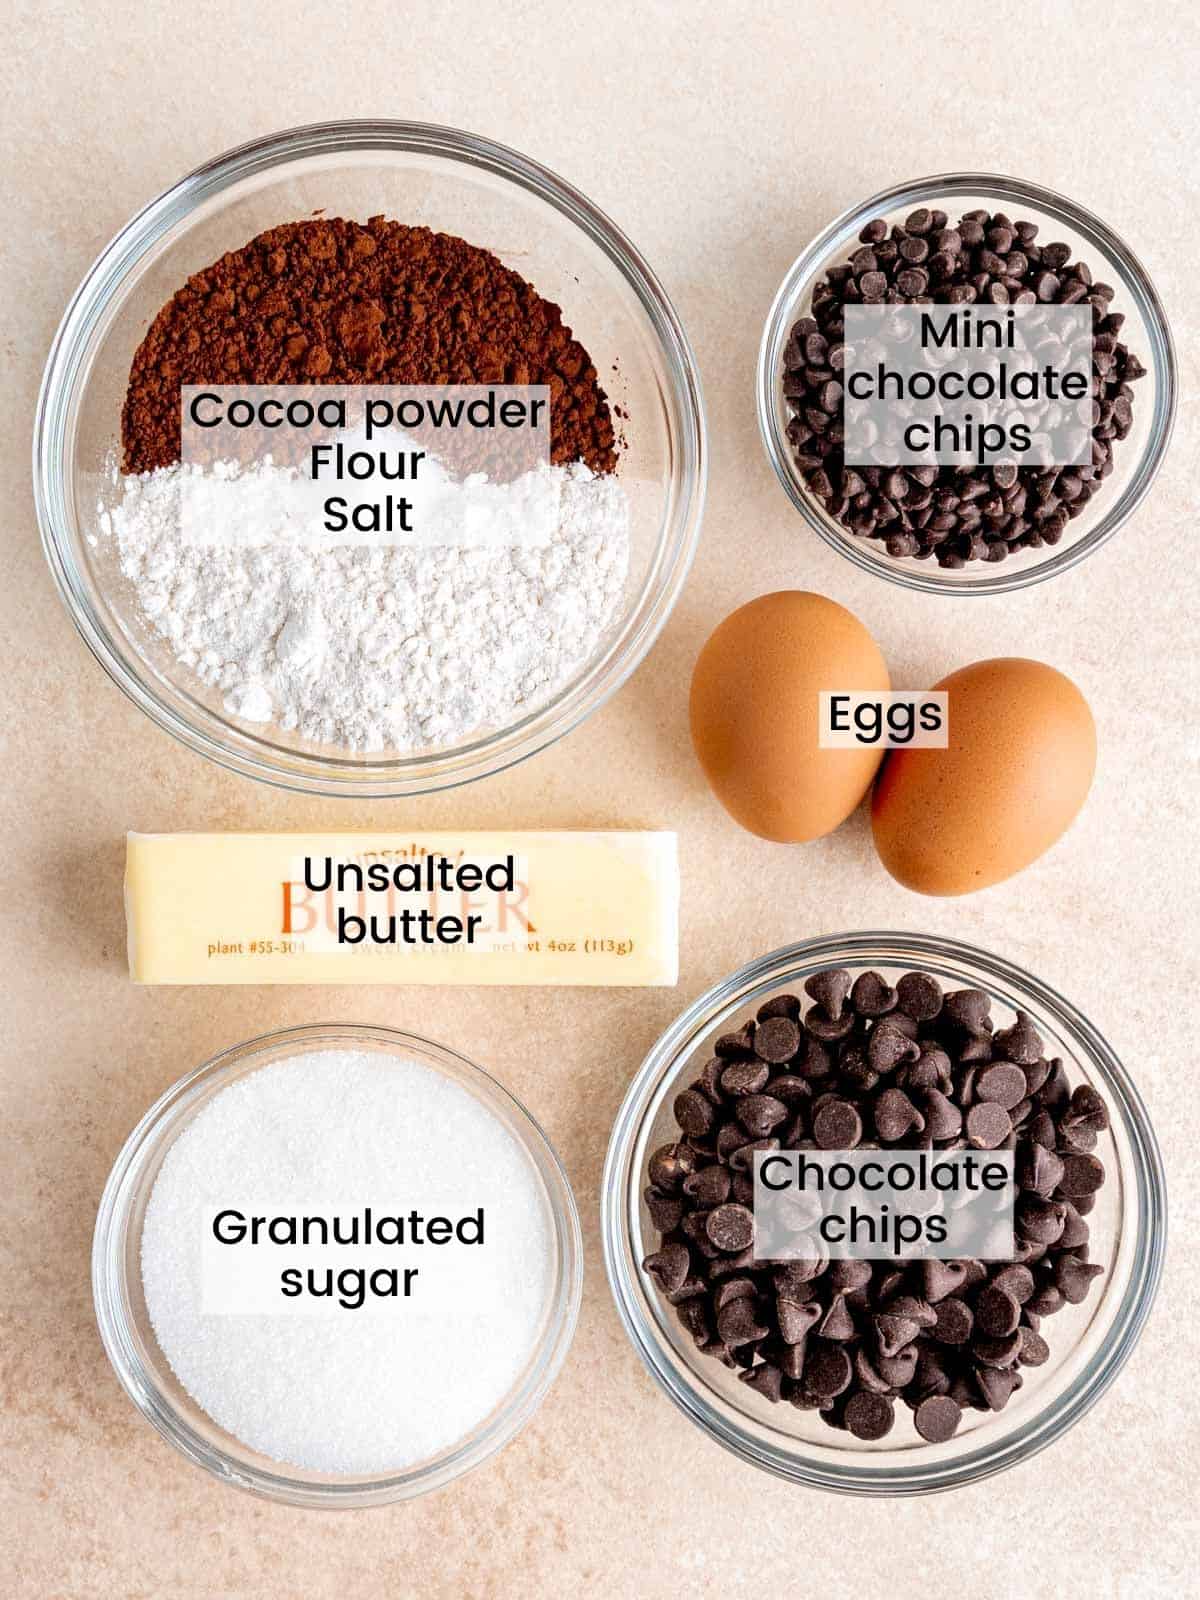
- Unsweetened cocoa powder: Dutch process recommended.
- All purpose flour
- Salt
- Mini chocolate chips
- Eggs
- Unsalted butter
- Granulated sugar
- Chocolate chips: these will be melted in the batter so feel free to use any kind of chips or bar that you like, although I recommend using a high quality chocolate (at least 60% cocoa).
See recipe card below for quantities.
Substitutions & Variations
Substitutions: This recipe has not been tested with any substitutions. If you do replace any ingredients, please let us know how they turned out in the comments below!
Variations:
- Feel free to add something other than mini chocolate chips to the batter. Mini M&Ms, chopped peanut butter cups or other candy would be delicious!
- Don't have a mini muffin pan? No problem! These can also be made in a regular cupcake pan. Grease or fill the pan with cupcake liners and then add 2 scoops of batter to each well and bake for 15-20 minutes.
Equipment
This easy brownie bites recipe is so simple, it can be made in just one bowl with a whisk and a spatula! There are a few pieces of special baking equipment I'd recommend, though:
- The best pan to bake these in is a mini muffin pan. I lucked out and found this one at a thrift store!
- A small/medium cookie scoop works really well to evenly distribute the batter among the muffin tin. You only need one scoop per well.
Step by Step Instructions
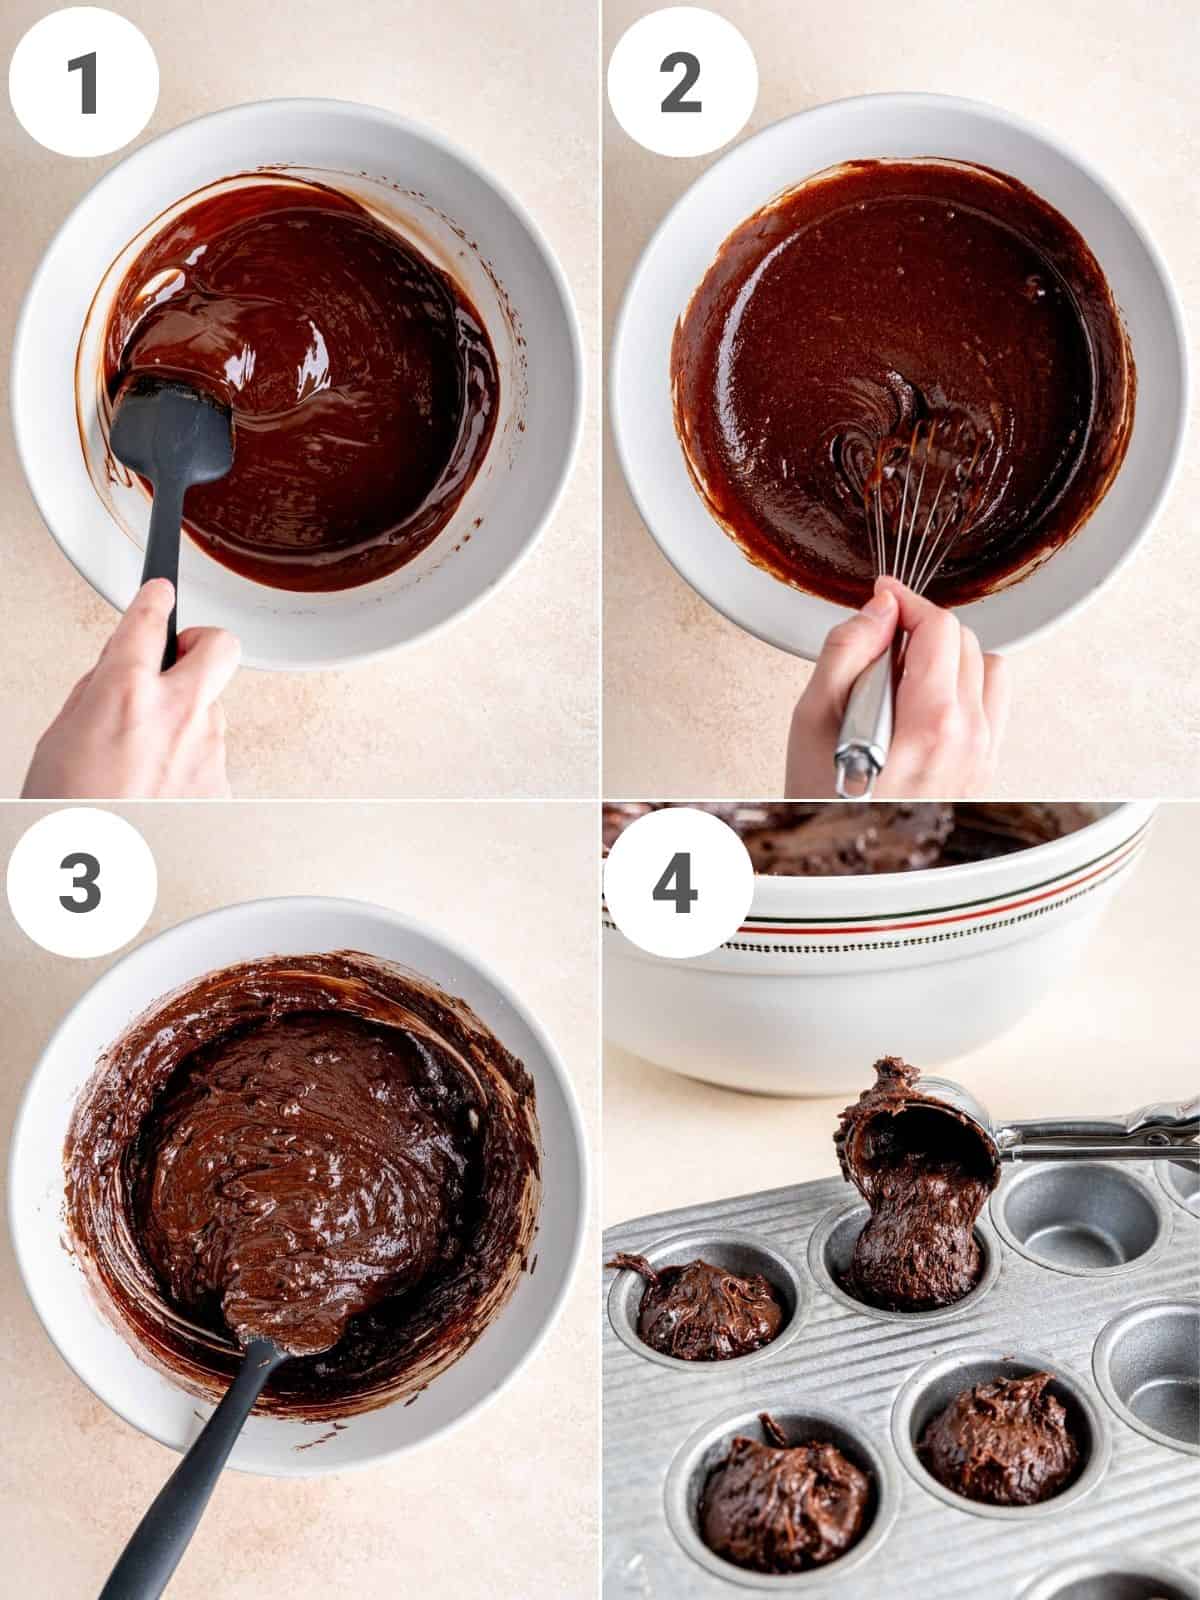
Step One (Picture 1 above) - Melt the regular chocolate chips and butter in the microwave until smooth, stirring every 30 seconds.
Step Two (Picture 2 above) - Whisk the sugar into the warm chocolate mixture really well (about 2 minutes). Make sure it's cool enough so that it doesn't cook the eggs, then stir them in.
Step Three (Picture 3 above) - Add the flour, cocoa powder salt and mini chocolate chips. Fold them into the batter with a spatula until no flour streaks remain.
Step Four (Picture 4 above) - Scoop 2-3 tablespoons of brownie batter into a greased mini muffin pan and bake at 325°F until the tops are crinkly (about 12-16 minutes).
Expert Tips
- Don't over-mix the batter. Gently add the dry ingredients and stop stirring when the flour streaks disappear so that the brownies don't turn out too cakey.
- Don't over-bake the mini brownies. Since they're small, they shouldn't take too long to bake and they'll continue baking in the pan after you take them out of the oven. Once a film sets on top and they start to crack slightly, they should be done. If you leave them in too long they won't be as fudgy!
- Let the mini brownie bites cool completely before removing them from the pan. They should twist out pretty easily, but if they stick at all just run a knife along the edge and pop them out.
Recipe FAQs
Definitely! These aren't something I usually have on hand, but they'd make them even easier to bake and share. No need to grease the pan if you use them!
Of course! If you use a normal sized muffin pan, add 2 scoops of batter to each greased well and bake them for 15-20 minutes.
I haven't tested them with gluten free ingredients, but would love to hear how it goes if you try it!
Eat them as is, add them to ice cream, or dip them in peanut butter! There are so many delicious ways to enjoy them!
Storage
Room Temperature: Store these mini brownies in an airtight container for up to 1 week.
Freezing Instructions: Wrap the cooled brownies tightly in a freezer safe bag or container and freeze for up to 1 month.
More Recipes You'll Love


Did you try this recipe?
Let us know what you thought by leaving a comment below and sharing it on Instagram, Facebook, & Pinterest!
Thank you!
-Kayla
📖 Recipe

Mini Brownie Bites
Equipment
- Mixing bowl
- Measuring Cups or Scale
- Measuring spoons
- Whisk
- Spatula
- Small/medium cookie scoop
- 24-well Mini Muffin Pan
Ingredients
- ½ cup (113.5 g) unsalted butter
- 1 cup (170 g) semi-sweet chocolate chips
- ⅔ cup (133 g) granulated sugar
- 2 large eggs room temperature
- ⅔ cup (83 g) all-purpose flour
- ¼ cup (25 g) cocoa powder
- ¼ teaspoon salt
- ½ cup (90 g) mini semi-sweet chocolate chips
Instructions
- Preheat oven to 325°F and grease a mini muffin pan with non-stick spray.
- In a medium microwave-safe bowl, melt the chocolate chips (1 cup) and butter until smooth. Stir the mixture every 30 seconds as you microwave them.
- Whisk the sugar into the warm chocolate mixture really well (about 2 minutes) so that it dissolves as much as possible. Make sure it's cool and then mix in the eggs for another 1-2 minutes.
- Gently fold in the flour, cocoa powder, salt, and mini chocolate chips with a spatula just until all flour streaks have disappeared.
- Using a small/medium cookie scoop (2-3 tablespoons), fill each well of the greased mini muffin pan with brownie batter.
- Bake for 12-16 minutes, or until the tops look slightly firm and start to crack a little.
- Let the brownie bites cool in the pan and then remove them. If your pan was greased well, you should be able to give them a little twist and pull them right out. Otherwise, you might need to carefully scoop them out with a knife.
I JUST WANTED TO SAY THAT THESE BROWNIES WERE TOTALLY AWESOME.! JUST THOUGHT I WOULD LEAVE OUT THE EXTRA CHOCOLATE CHIPS AND REPLACE THEM WITH WALNUTS. I LOVE NUTS ANYWAY AND THEY CAME OUT PERFECT. JUST NEEDED TO ADD A LITTLE MORE SUGAR BECAUSE OF THE LACK OF CHOCOLATE CHIPS, SO I ADDED 1/3 CUP OF CONFECT. SUGAR WITH THE REGULAR WHITE SUGAR AND I AM NOW BAKING MY SECOND BATCH. SO EASY TO PUT TOGETHER AND PERFECT LITTLE BROWNIES. THANK YOU AND I WILL DEFINATELY MAKE THESE AGAIN.
Just what I wanted in a quick snack. The only issue is that it took me 25 minutes before it went into the oven. The recipe promised a 15 minute prep time.
Glad you liked them!! Sorry they took a bit longer to make! I appreciate your feedback 🙏