
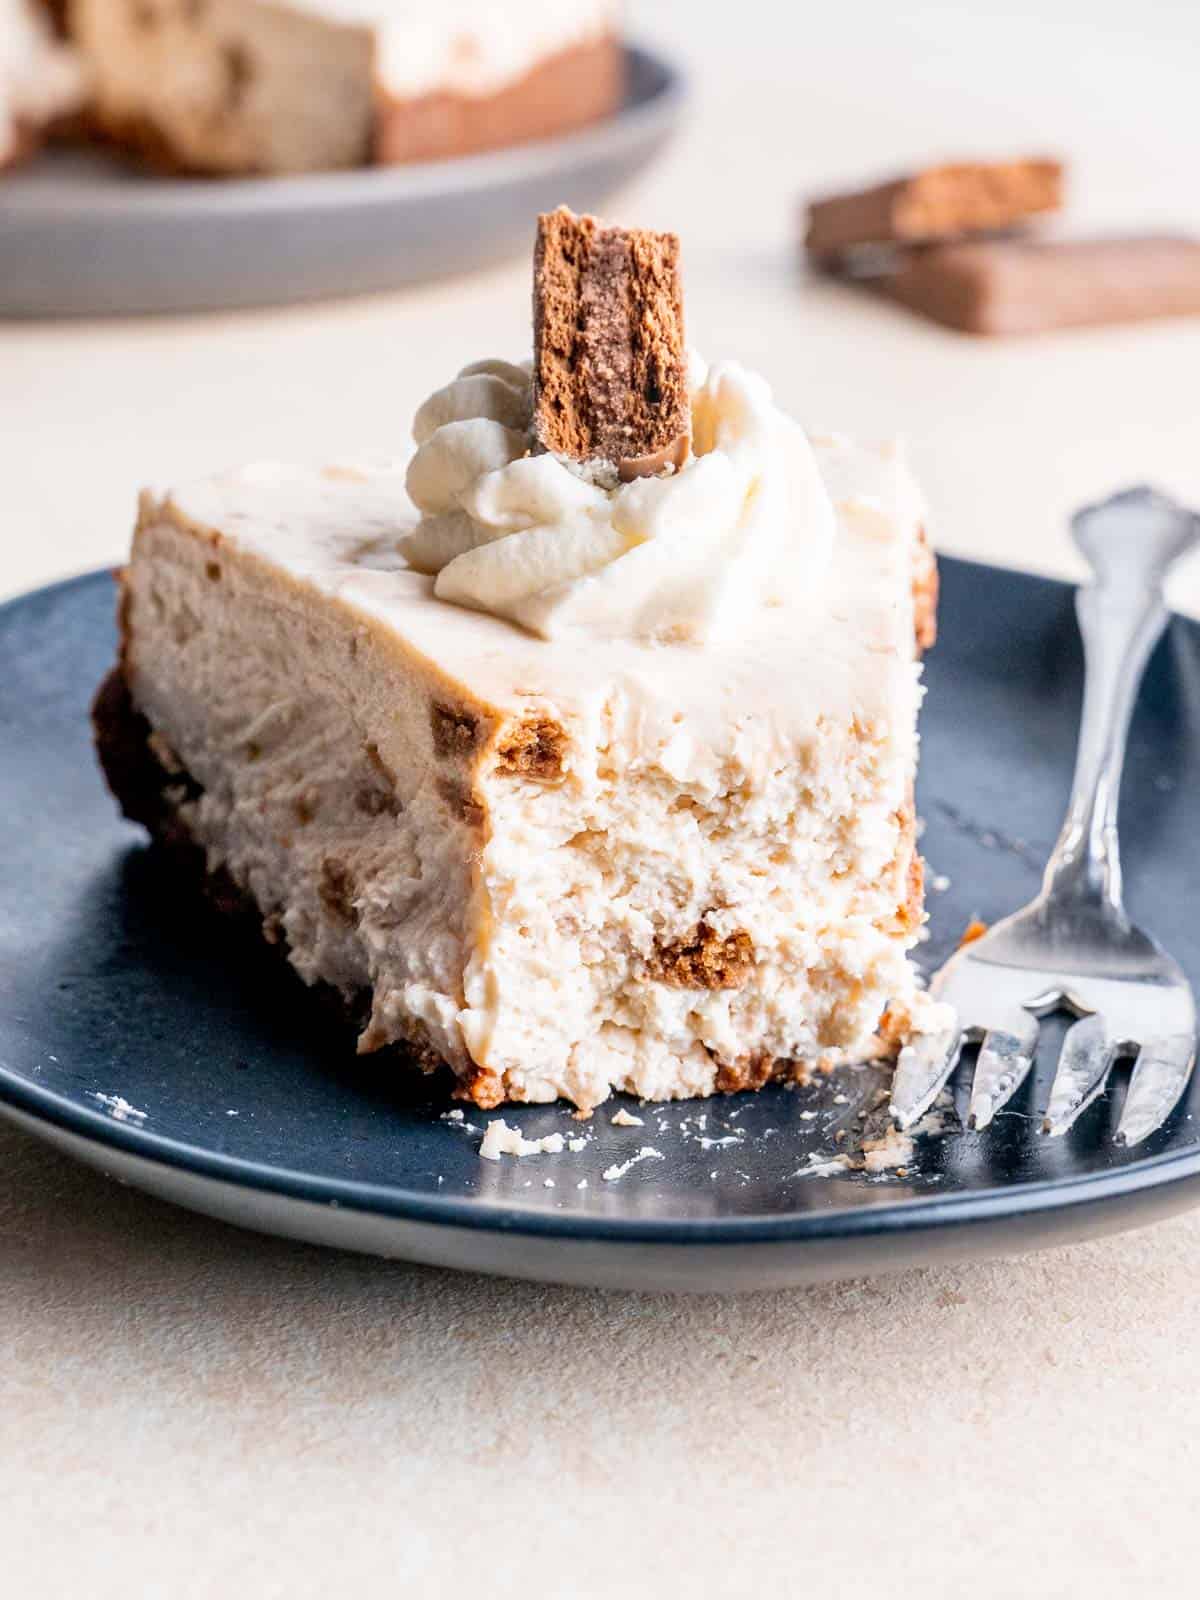
This Tim Tam Cheesecake is a super simple no bake dessert! It's creamy and made with a Tim Tam crust as well as crushed ones on the inside. If you aren't familiar with Tim Tams, they're an Australian chocolate biscuit made by Arnott's that I ate a ton of while I spent 5 months in Sydney a few years ago. I even stuffed my suitcases full of them when I came back home. I like to say they're similar to Kit Kats, except bigger and much tastier! They also come in a variety of flavors like caramel, double stuffed, dark or white chocolate, etc. My friends all complimented the taste of this cheesecake, especially the crust!
This post contains affiliate links, meaning that I could earn from purchases made through them. It doesn't add any extra cost to you, but it does help support this blog!

Save This Recipe! 💌
Since this cheesecake doesn't require an oven, it's perfect for hot summer days! Plus, it's chilled so it'll help cool you down. However, it's also great for Halloween because you can really use any chocolatey candy in place of the Tim Tams! I love eating this cheesecake any time of the year!
This recipe was inspired by my love of cheesecake & Australia! If you're a big fan of no bake cheesecakes like myself, be sure to check out my No Bake Cheesecake Bites and Chocolate Cherry Cheesecake!
Jump to:
Ingredients

- Original Tim Tam biscuits
- Cream cheese
- Heavy whipping cream
- Granulated sugar
- Powdered sugar
- Vanilla extract
- Lemon juice
- Unsalted butter
- Sour cream
See recipe card below for quantities.
Step by Step Instructions

STEP ONE (Picture 1 above) - Make the crust.
Melt the butter in the microwave and let it cool. Break up the Tim Tams into a food chopper and pulse until all the big chunks are broken up. Add the melted butter to the food chopper and pulse for another few seconds. Dump the crumbs into a 9 inch (23 cm) springform pan and spread them out evenly. Using the bottom of a flat cup, press the crumbs into the bottom of the pan. Then, use your hands to press excess crumbs up along the edge. Freeze the crust while preparing the cheesecake.
STEP TWO (Picture 2 above) - Whip the cream.
In a large bowl with a hand mixer, whisk the heavy whipping cream until it reaches stiff peaks. This is when the cream is firm enough to hold its shape when you lift the whisk out of the mixture. Place the whipped cream in the fridge while making the cream cheese mixture.
STEP THREE (Picture 3 above) - Make the cheesecake filling.
Stir the cream cheese with a hand mixer or stand mixer with the paddle attachment until it's nice and smooth. Mix in the sour cream, lemon juice, sugars and vanilla extract really well. Then, gently fold the crushed Tim Tams and cold whipped cream into the mixture.
STEP FOUR (Picture 4 above) - Assemble the cheesecake.
Make sure the crust is cold and firm, then pour the cheesecake mixture over it. Spread it around evenly and then refrigerate overnight.
HINT: Don't leave out the lemon juice! This is added as an acid to help the cheesecake firm up as it sets. It won't add a lemony flavor to the dessert.
Substitutions & Variations
This recipe has not been tested with any substitutions. If you do try substituting any of the ingredients, please leave a comment below letting us know how it worked out!
If you want to use a different candy or biscuit instead of the Tim Tams, go for it! Kit Kats would work great, but you may need a greater number of them for the crust. I recommend using a candy with a biscuit aspect to it so that there's some structure provided in the crust, or you could use an Oreo or graham cracker crust. However, you can crush up any candy for the filling! This recipe would be great for using up chocolatey Halloween candy.
Equipment
This recipe makes enough cheesecake and crust for a 9 inch springform pan. A springform makes the cheesecake much easier to remove from the pan, but you can use a 9 inch round or square pan instead.
You'll also want a hand mixer or stand mixer for this recipe. The cream can take a while to whip up and the cream cheese can be difficult to stir by hand. If you're using a stand mixer, use a whisk attachment for the whipped cream and a paddle attachment for the cream cheese.
For the crust, you'll need a food chopper (AKA food processor) to crush the biscuits in. A small blender should work as well.
Storage
Store this cheesecake in the refrigerator for up to 1 week or in the freezer for up to 1 month. If you're storing it in the freezer, let it thaw in the refrigerator for a few hours before serving.
FAQ
If you don't live in Australia where they're available in most grocery stores, I recommend checking Amazon, World Market or Target.
Yes! I highly recommend letting it sit covered in the refrigerator for at least 6 hours so that it can firm up.
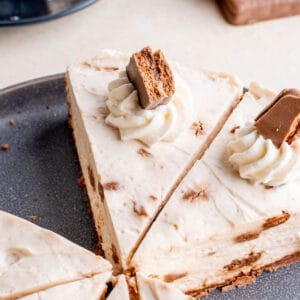
For best results, serve the cheesecake right after taking it out of the refrigerator and cutting it into pieces. I also like to decorate the top with whipped cream and Tim Tams, but this is optional.
I cut this into 8 equal triangles. However, you can adjust the slices to be smaller or larger to get more or less pieces.
Did you try this recipe?
Tag @brokenovenbaking on Instagram and leave a star review below!
📖 Recipe
Tim Tam Cheesecake
Equipment
- 9 inch springform pan
- Mixing bowls
- Measuring spoons
- Hand mixer or stand mixer
- Food chopper
Ingredients
Crust
- 14 original (252 g) Tim Tam biscuits
- 3 tablespoons (42 g) unsalted butter melted & cooled
Cheesecake
- 1 cup (236.59 ml) heavy whipping cream cold
- 24 ounces (3 blocks) (678 g) cream cheese room temperature
- ¼ cup (57.5 g) sour cream
- 2 teaspoons lemon juice
- ¼ cup (30 g) powdered sugar
- ⅓ cup (66.67 g) granulated sugar
- 1½ teaspoons vanilla extract
- 5 original (90 g) Tim Tam biscuits crushed
Topping (optional)
- 3 original (54 g) Tim Tam biscuits
- Whipped cream
Instructions
Crust
- Melt the butter in the microwave and let it cool.
- Process Tim Tams in a food chopper. Add the melted butter and continue chopping until no large biscuit pieces are left.
- Spread the Tim Tam & butter mixture evenly across the bottom of a 9 inch springform pan. Press down on the crust with the bottom of a flat glass and then pat down along the edge so that the mixture is pressed about ½ inch up the side of the pan.
- Place the crust in the freezer while preparing the cheesecake filling.
Cheesecake
- In a medium/large bowl, whisk the heavy whipping cream to stiff peaks (this is when the whipped cream holds its shape when you lift the whisk from the bowl). I recommend using a hand mixer for this step.Place the whipped cream in the refrigerator while preparing the rest.
- In a large bowl, mix the cream cheese with a hand mixer (or stand mixer with paddle attachment) until it's smooth. Stir in the sour cream and lemon juice. Add the sugars and vanilla extract and mix well.Scrape the sides of the bowl with a spatula as necessary.
- Gently mix the Tim Tam crumbs into the cream cheese mixture. Then, carefully fold the whipped cream into it until everything is combined.
- Spread the cheesecake filling evenly over the crust. Cover and refrigerate overnight before removing the pan and slicing into it.The springform pan edge should remove easily, but you may want to run a knife along the edge before taking it off.
- Feel free to decorate the top with whipped cream and Tim Tams, enjoy!
Save This Recipe! 💌
Notes
More No Bake Recipes
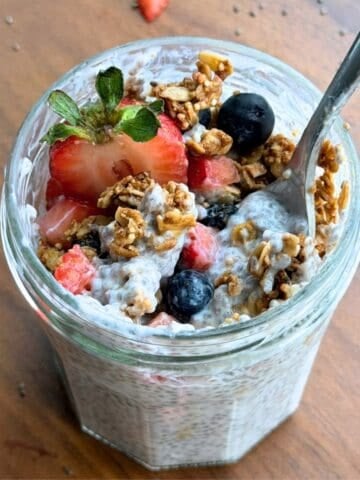
- 2-Ingredient Chia Pudding (High Protein & Fiber!)
- Almond Butter Energy Balls
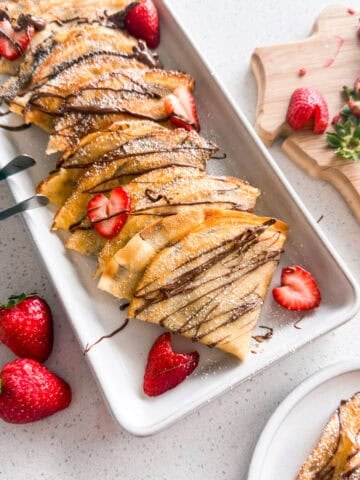
- Strawberry Nutella Crepes
- Apple Pie Ice Cream (Ninja Creami Recipe)
- Strawberry Matcha Ice Cream (Ninja Creami Recipe)
- 5-Ingredient Blueberry Lemon Cheesecake Ice Cream (Ninja Creami Recipe)
- 5-Minute Banana Bread Mug Cake (No Eggs!)
- 5 Ingredient No-Bake Mini Chocolate Cheesecakes


Haven't actually eaten it yet (it's in the fridge setting for a Christmas Eve party tomorrow!) but the recipe was nice and easy to follow and it is firming up really well! I'm so excited to try it!
Yay I hope you love it as much as I do!! Merry Christmas!
Was so excited to find a recipe using Timtams and this one did not disappoint! The timtam flavor comes through and goes so well with the cheesecake filling. Highly highly highly recommend!
I'm so happy to hear that! TimTams & cheesecake are the best!!